

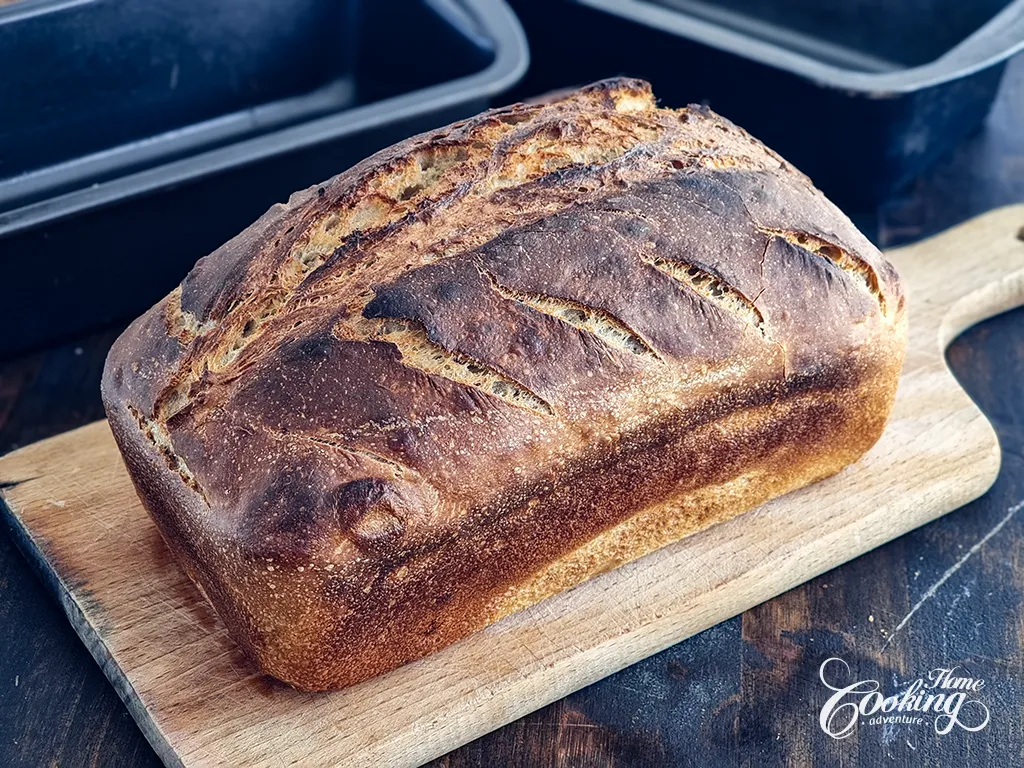
Want homemade sourdough bread without waiting until the next day? This easy same-day sourdough bread is made with a healthy sourdough starter and can be mixed, proofed, shaped, and baked all in one day.
Instead of using a Dutch oven, this sourdough bread is baked in a 9×5-inch loaf pan, with a second loaf pan placed over it during the first part of baking to create steam. You also don’t need to preheat your oven for an hour, making this a simple and practical way to bake sourdough at home.
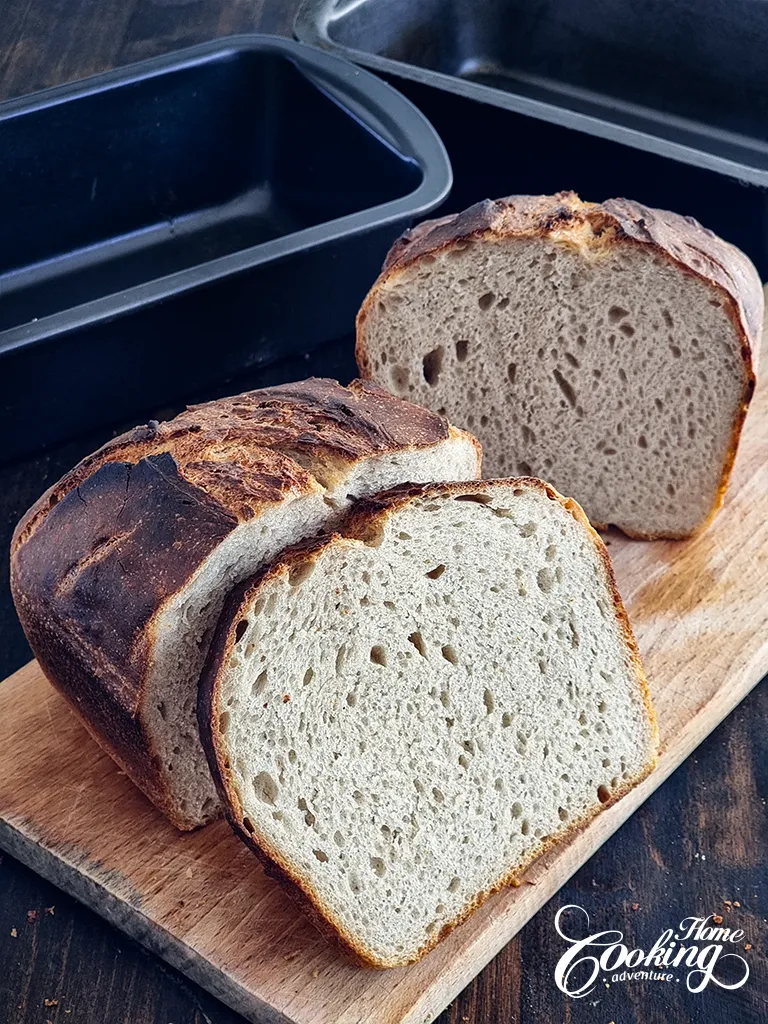
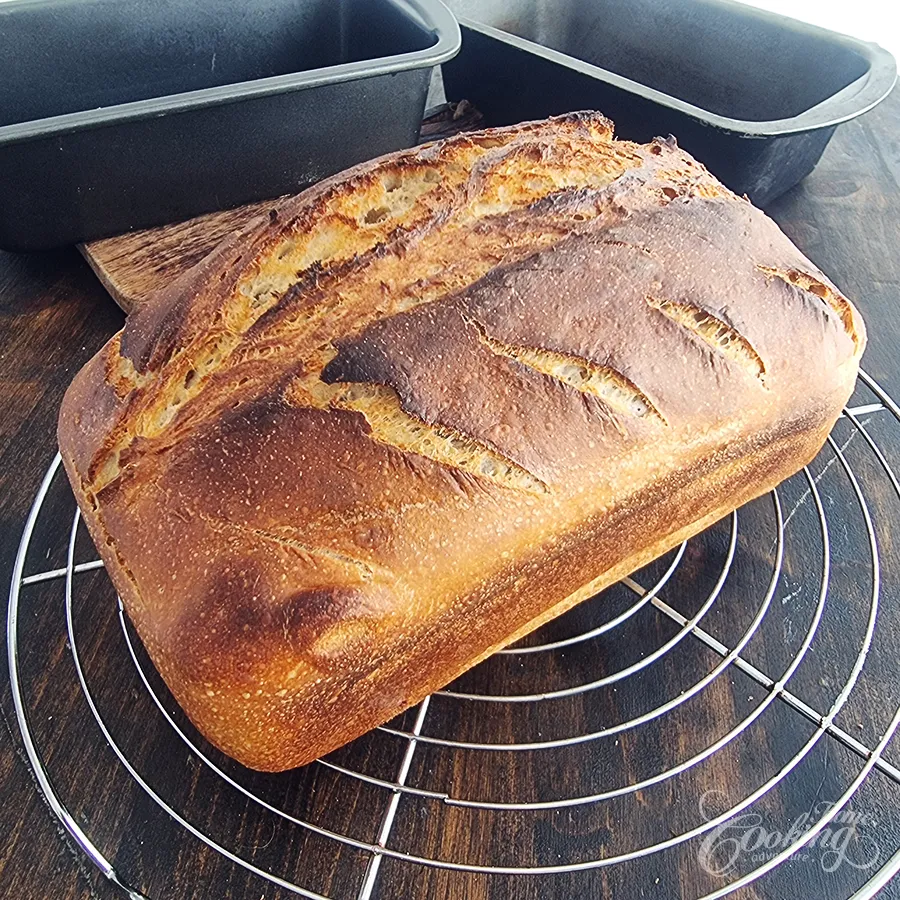
The dough goes through a few simple stretch-and-folds, then rises directly in the loaf pan for about 2½ hours before baking. The result is a soft, flavorful loaf with a beautiful golden crust and a sliceable crumb—perfect for breakfast, toast, or sandwiches.
If you’ve been intimidated by sourdough because it seems to require overnight fermentation and special equipment, this same-day sourdough bread recipe is a great place to start.
Why You’ll Love This Same-Day Sourdough Bread
- Same-day sourdough – No overnight fermentation is needed. You can mix, proof, and bake the bread all in one day.
- No Dutch oven required – Two loaf pans create the steamy environment needed for good oven spring and crust.
- No long oven preheating – You don’t need to preheat the oven for an hour before baking.
- You can use refrigerated starter – A healthy sourdough starter can be used straight from the refrigerator, so there’s no need to plan a feeding the day before.
- Easy to shape – The dough is shaped into a simple loaf and proofed directly in the pan.
- Perfect for sandwiches – The loaf pan gives you a soft, evenly shaped loaf with slices that are great for toast and sandwiches.
- Rye option – Adding a little rye flour gives the bread a deeper, more rustic flavor.
Ingredients
Sourdough starter – Use a healthy starter. It can be used directly from the refrigerator; it doesn’t need to be freshly fed the day before.
Bread flour – Gives the bread structure and helps create a chewy, well-developed crumb. You can use 500 g bread flour or replace 80 g with rye flour.
Water – Hydrates the flour and creates the dough. Depending on your flour and starter, the dough may feel slightly different from one batch to another.
Olive oil – Adds flavor and makes the crumb softer and more tender.
Salt – Enhances the flavor and helps regulate fermentation.
How to Make Sourdough Bread in a Loaf Pan
1. Mix the dough
Combine the sourdough starter, bread flour, water, and olive oil. Mix until a shaggy dough forms. Let it rest for 30 minutes.
2. Add the salt
Add the salt and mix until well incorporated.
3. Stretch and fold
Let the dough rest for 50 minutes, then perform a set of stretch and folds. Repeat once more after another 50 minutes. Let the dough rest for another 50 minutes.
4. Shape and proof in the loaf pan
Shape the dough into a loaf and place it in a greased 9×5-inch loaf pan. Cover and let it rise for about 2½ hours, or until noticeably puffy.
5. Score the dough
Once risen, make a deep score along the top of the loaf.
6. Create steam with a second loaf pan
Place another loaf pan upside down over the dough. This traps steam around the bread and helps it rise during baking.
7. Bake and score again
Bake at 470°F (240°C) for 25 minutes. After the first 5 minutes, carefully remove the covering pan and score the loaf again, then replace the pan and continue baking.
8. Finish baking
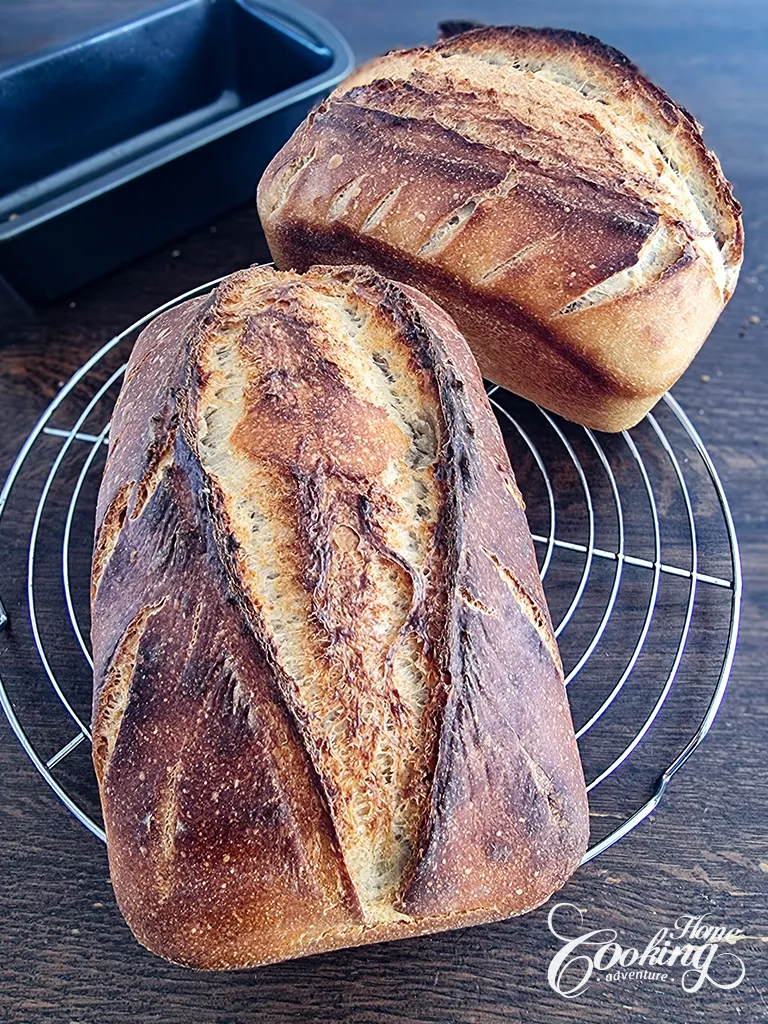
Remove the covering pan, reduce the temperature to 425°F (220°C), and bake for another 10–15 minutes, until deeply golden brown.
9. Cool before slicing
Remove the bread from the pan and let it cool completely on a wire rack before slicing.
Tips for Making Same-Day Sourdough Bread
- Use a healthy starter. It doesn’t have to be freshly fed the day before. I usually feed my starter about once a week, let it rise at room temperature, and when it starts to collapse, I put it back in the refrigerator. This way, I can use it directly from the fridge to make this bread any day of the week.
- Watch the dough, not just the clock. Fermentation and proofing times can vary depending on your starter and kitchen temperature. The dough should become noticeably puffy and well risen before baking.
- Be patient with refrigerated starter. If your starter is less active because it has been in the refrigerator, the dough may need more time to rise.
- Grease the loaf pan well with olive oil to make removing the bread easier.
- Don’t skip the second loaf pan. Covering the bread during the first 25 minutes helps trap steam and encourages good oven spring.
- Score the bread again after the first 5 minutes. This gives the loaf another opportunity to open up as it continues baking.
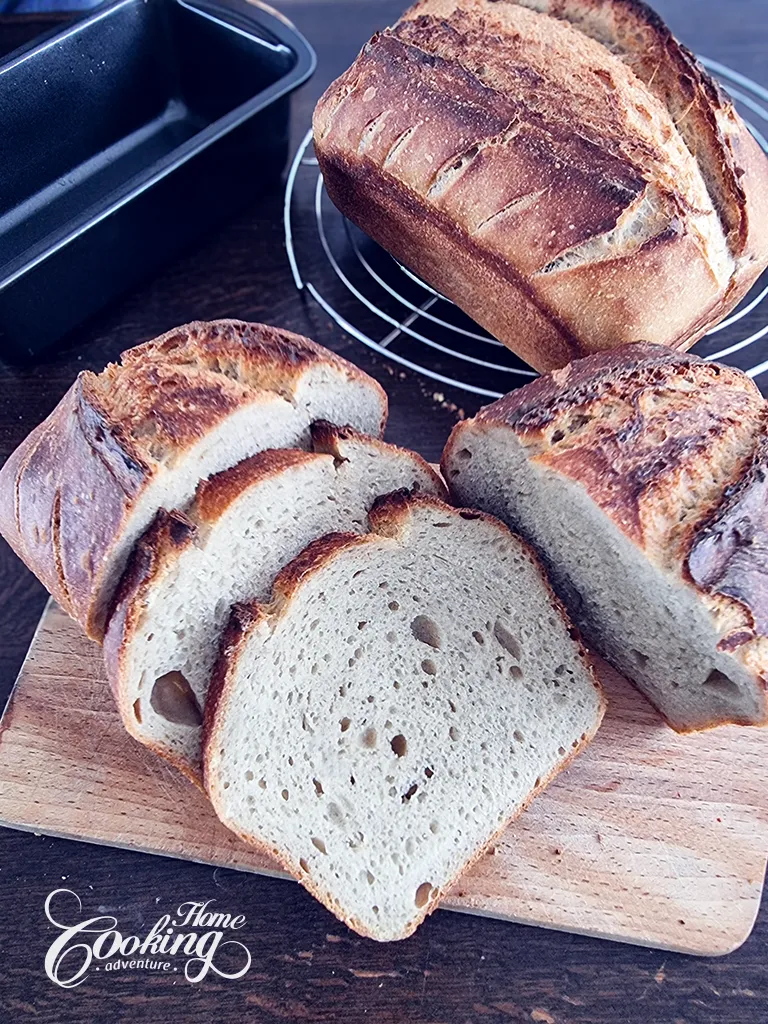
- Cool completely before slicing. The crumb continues to set as the bread cools, so slicing too early can make it gummy.
Bread Flour or Rye Flour?
You can make this loaf entirely with bread flour for a lighter, milder sourdough bread. For more flavor, replace 80 g of the bread flour with rye flour. The rye version has a slightly darker crumb and a deeper, more earthy flavor while still maintaining a soft, sliceable texture.
How do I know when my sourdough is ready to bake?
The dough should look noticeably puffy and risen in the loaf pan. Since fermentation depends on the strength of your starter and the temperature of your kitchen, use the dough’s appearance as your main guide rather than relying only on the suggested proofing time.
How to Store Sourdough Bread
Once completely cool, store the bread at room temperature in a bread bag or loosely wrapped in a clean kitchen towel. For longer storage, slice the loaf and freeze it in an airtight freezer bag. You can toast the slices directly from frozen.
More Sourdough Recipes
If you enjoy baking sourdough, try these other homemade sourdough bread recipes:
- Easy Sourdough Bread – A classic sourdough loaf with a crisp crust and soft, airy crumb.
- Easy Sourdough Bread with Flaxseeds – A wholesome sourdough loaf with flaxseeds, perfect for everyday sandwiches and toast.
- Basic Sourdough Bread – 1-2-3 Method – A simple sourdough recipe based on the easy-to-remember 1-2-3 method.
For more bread ideas check our full collection of Bread Recipes.
Video
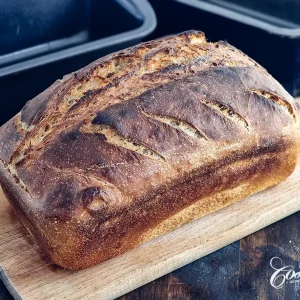
Easy Same-Day Sourdough Bread in a Loaf Pan
Ingredients
- 3.5 oz (100g) active sourdough starter
- 4 cups (500g) bread flour or a mix of bread flour (3 ⅓ cup – 420g) and about 2.3 cup (80g) rye flour
- 1 ½ cup (350g) water
- 2 tbsp (30g) olive oil
- 2 tsp (10g) salt
Instructions
- In a large bowl, combine the sourdough starter with water.
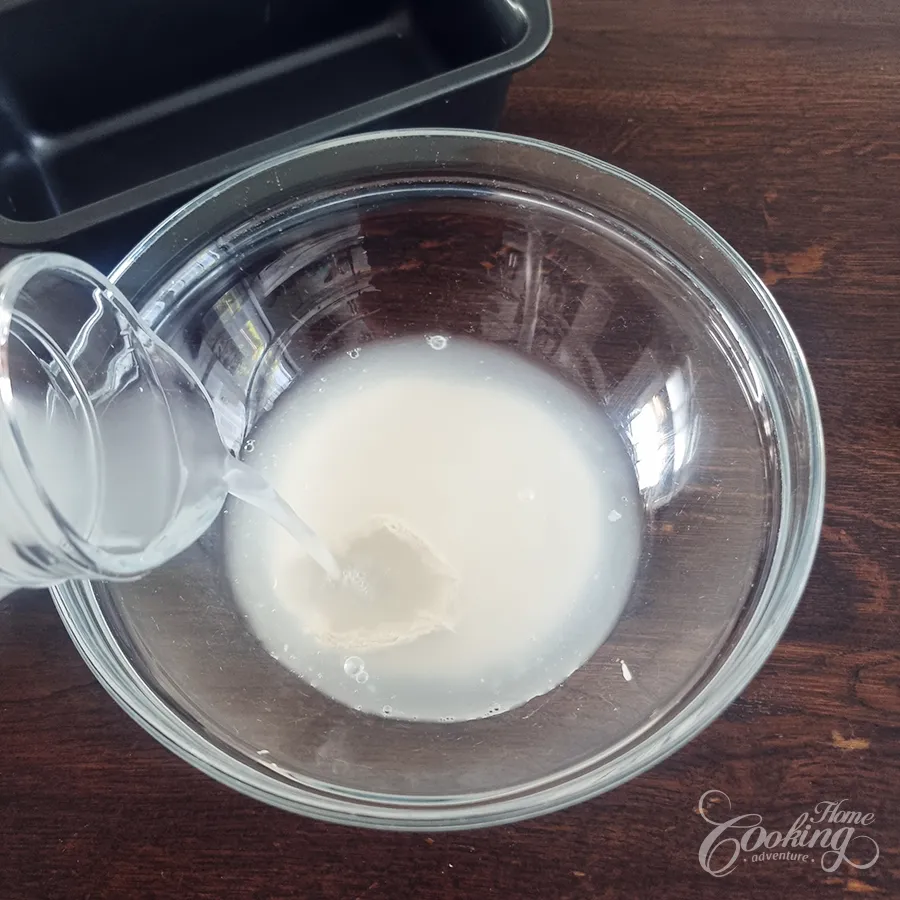
- Add flour and olive oil.
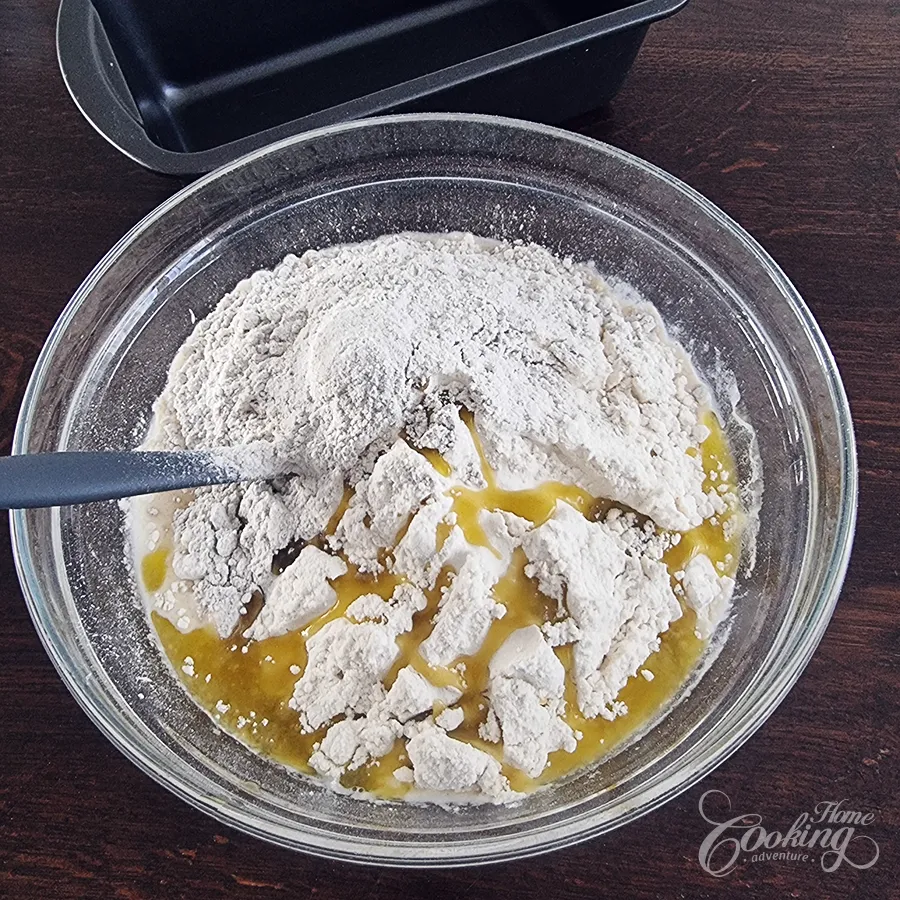
- Mix until a shaggy dough forms. Do not add the salt yet.
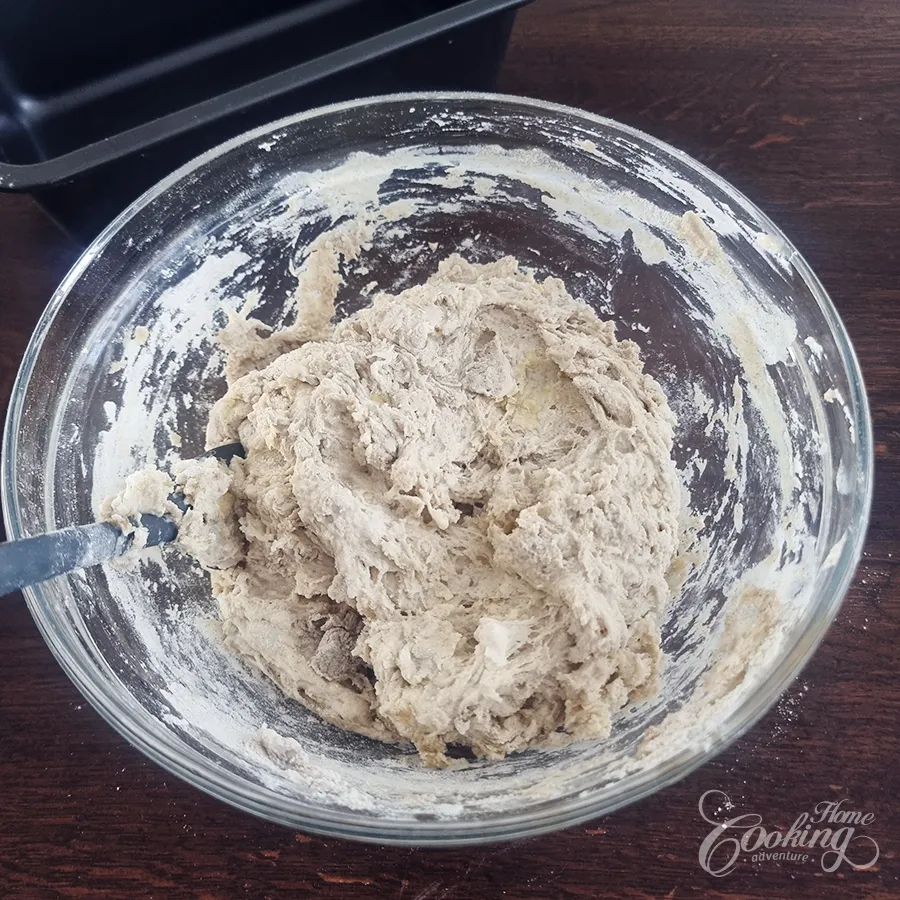
- Cover and let the dough rest for 30 minutes.
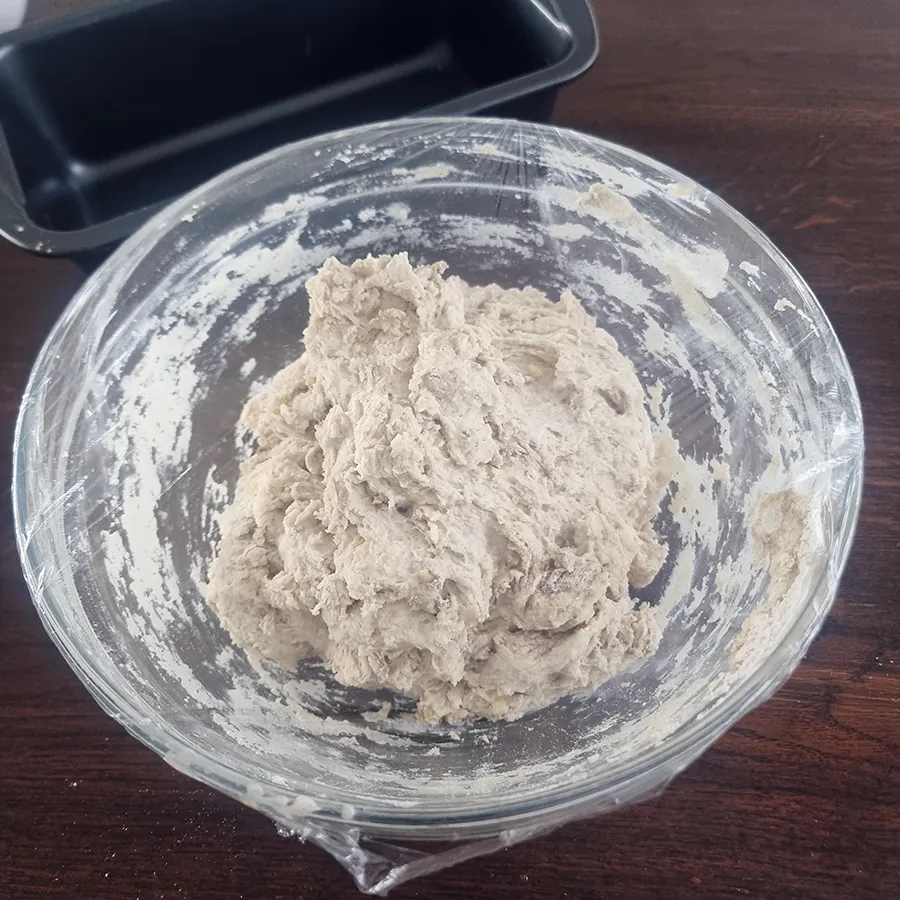
- Add the salt.
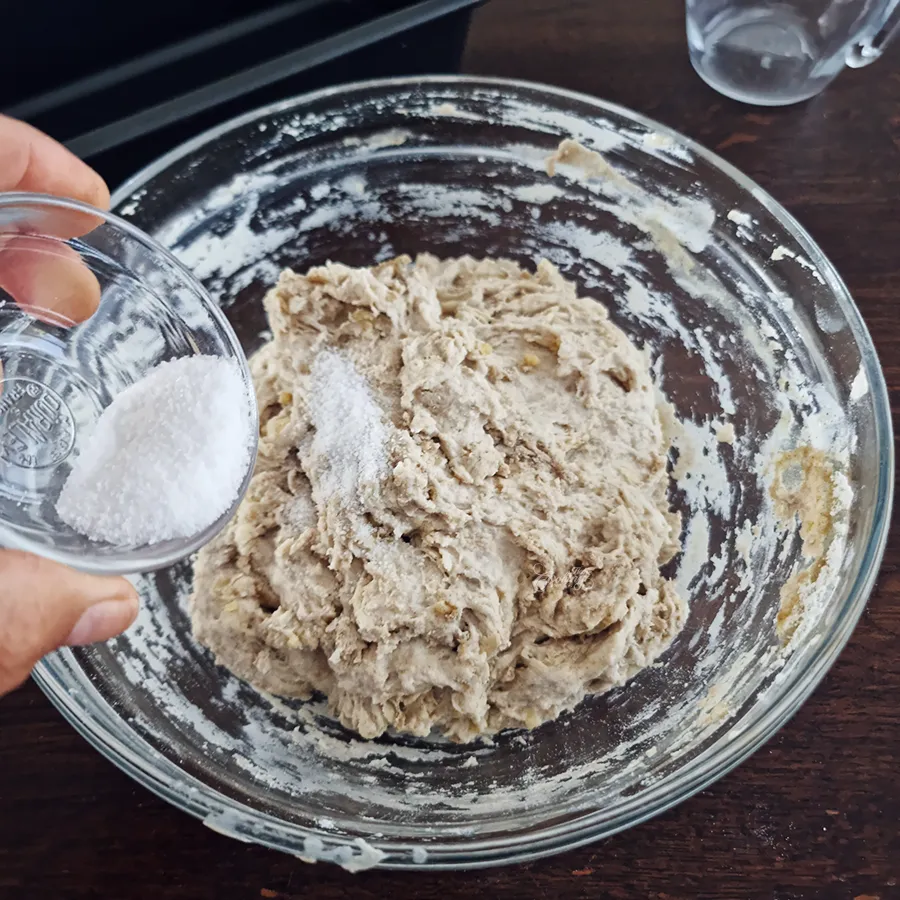
- Mix until it is well incorporated and the dough becomes smoother.
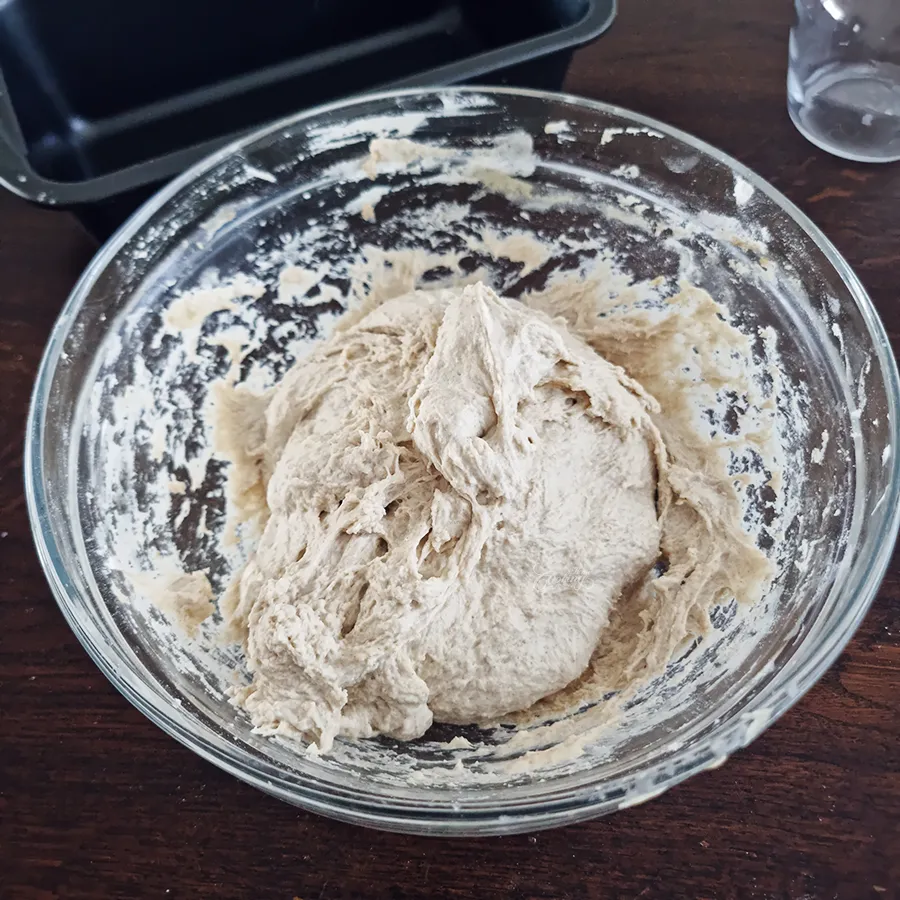
- Cover the dough and let it rest for 50 minutes. Then perform one set of stretch and folds. Cover again.
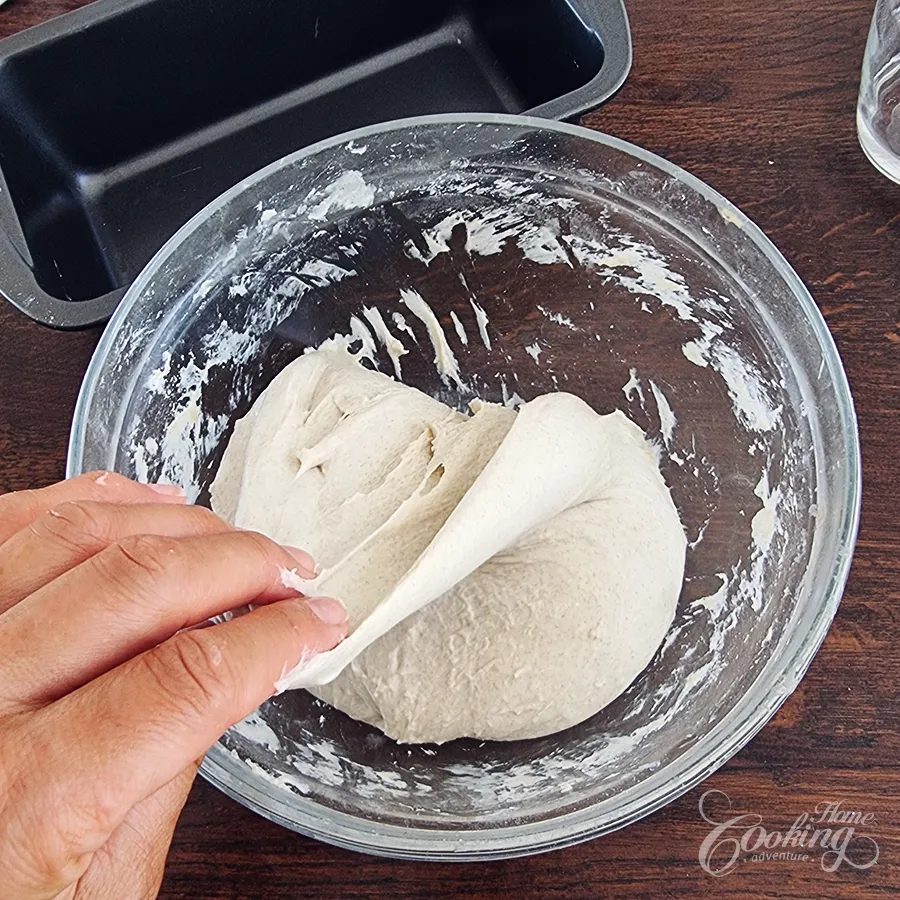
- After another 50 minutes, perform a second set of stretch and folds. Cover and let the dough rest for another 50 minutes.
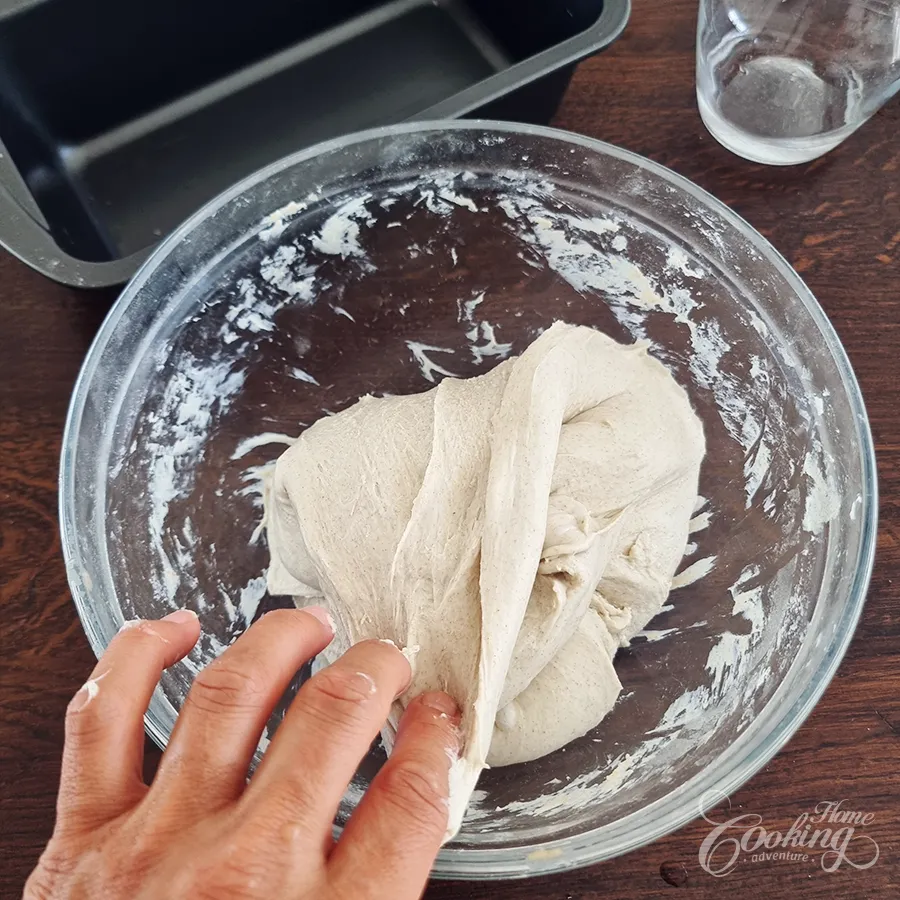
- Transfer the dough onto a lightly floured surface,
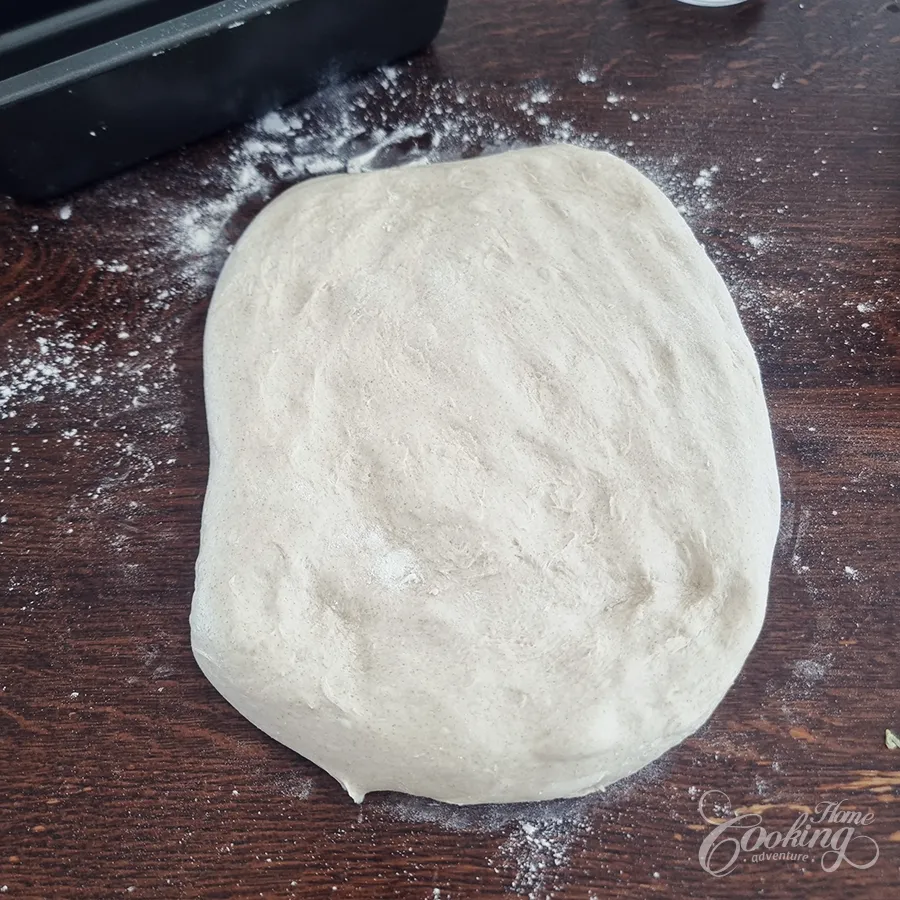
- Gently shape the dough into a loaf.
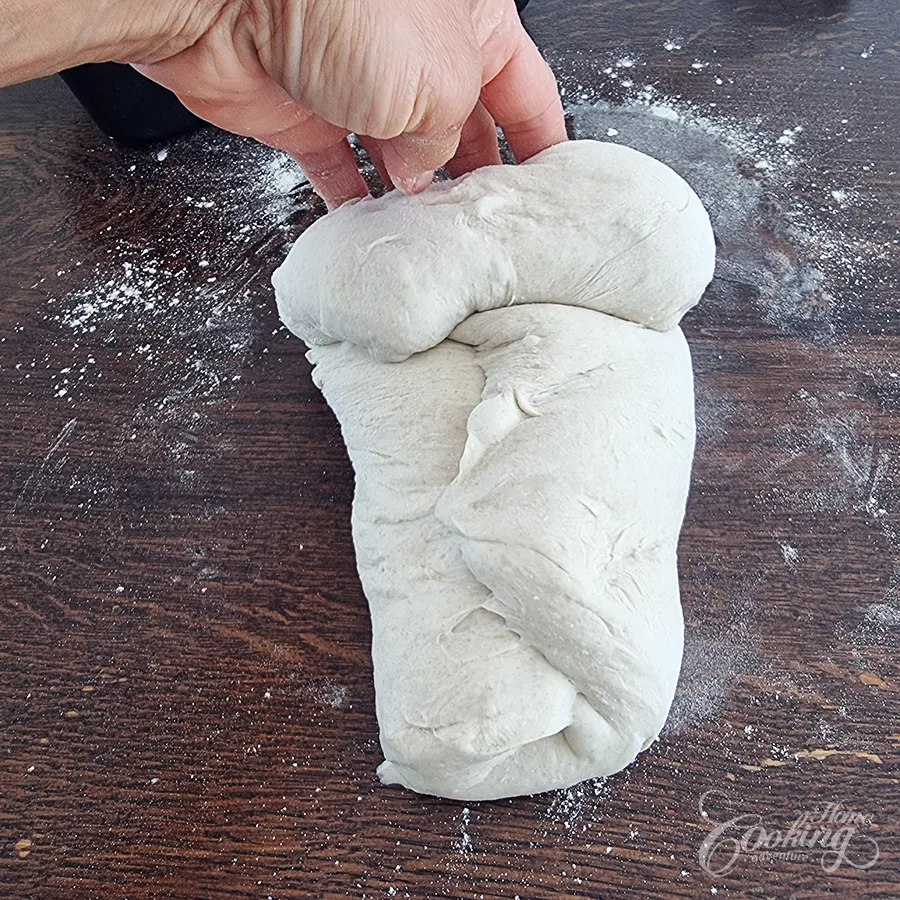
- Pinch and seal the edges together.
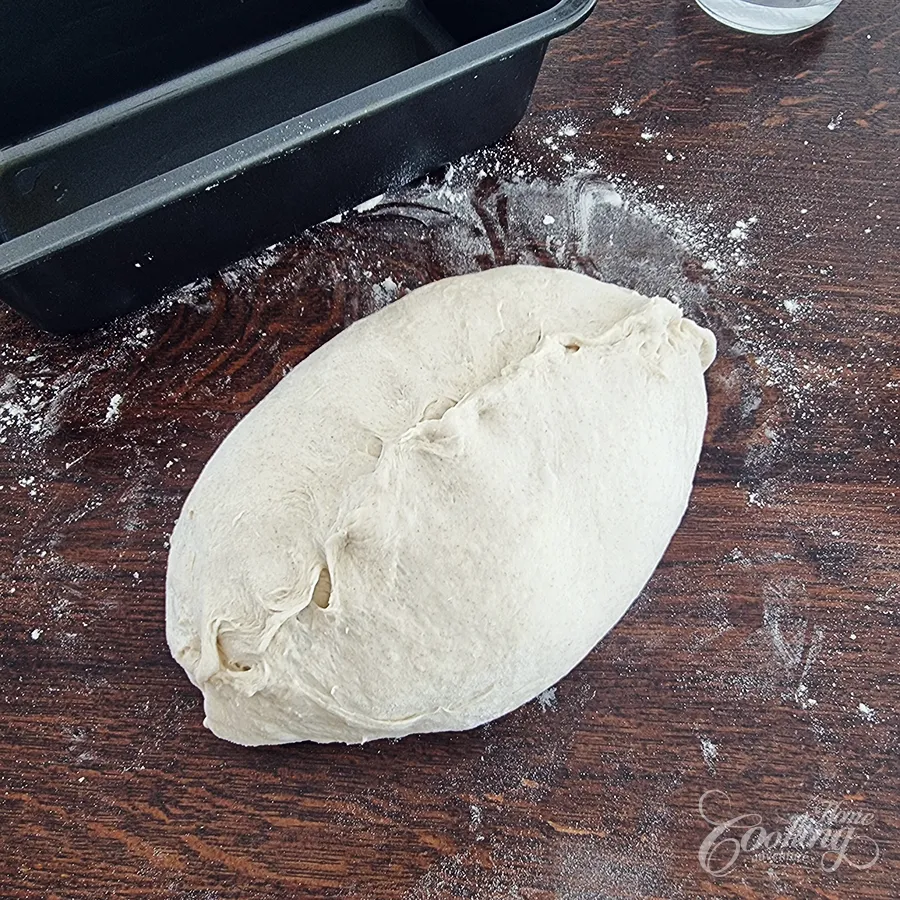
- Place the loaf seam-side down into a greased 9 x 5-inch (23 x 13 cm) loaf pan.
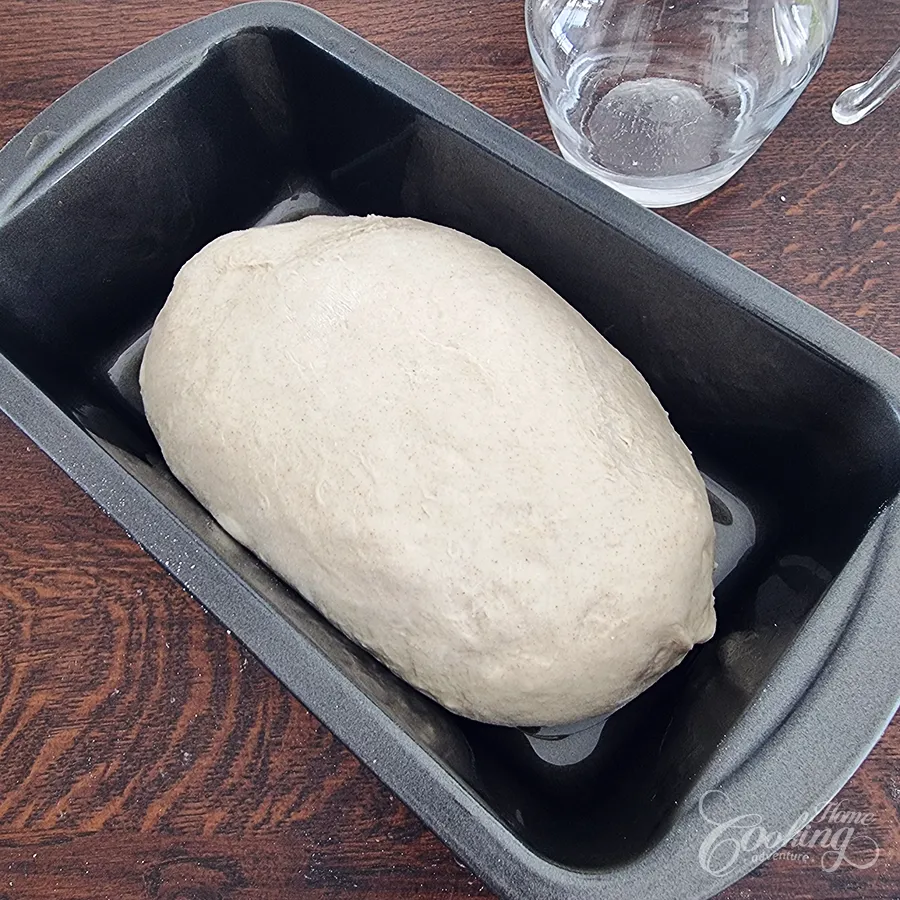
- Cover the pan.
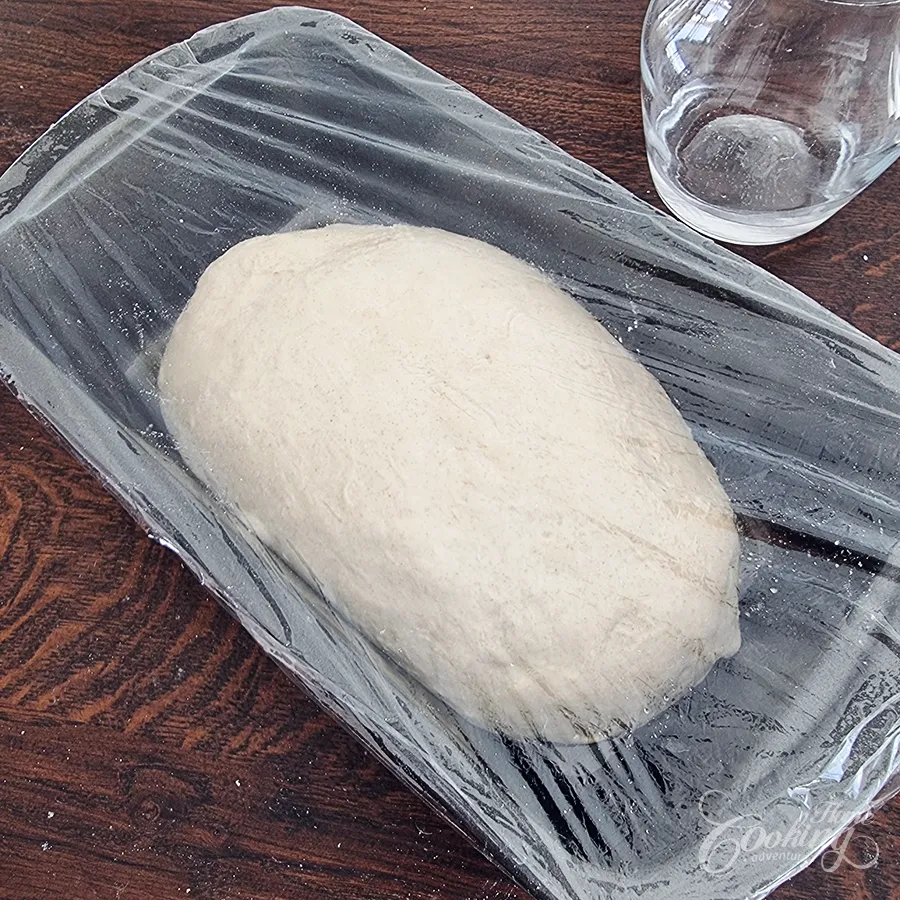
- Let the dough rise for about 2½ hours, or until noticeably puffy and risen.
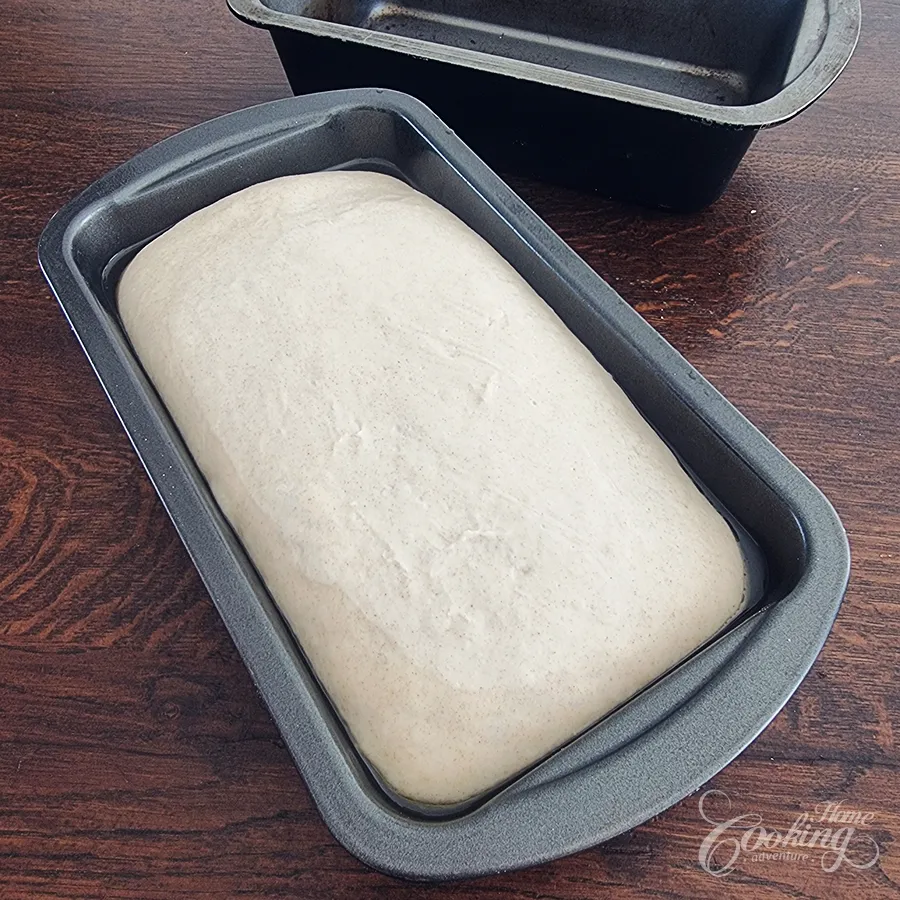
- Preheat the oven to 470°F (240°C).
- Once the dough has risen, gently score the top with a sharp bread lame or knife.
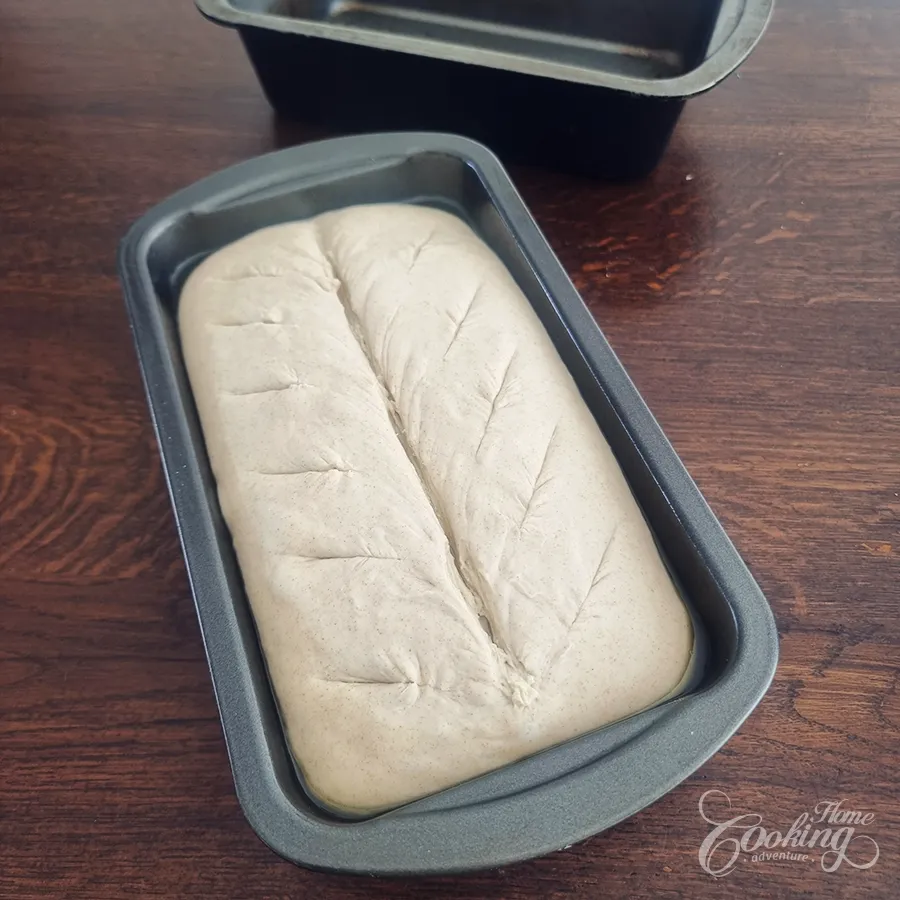
- Place another loaf pan upside down over the pan containing the dough. This creates an enclosed space that helps trap steam during baking.
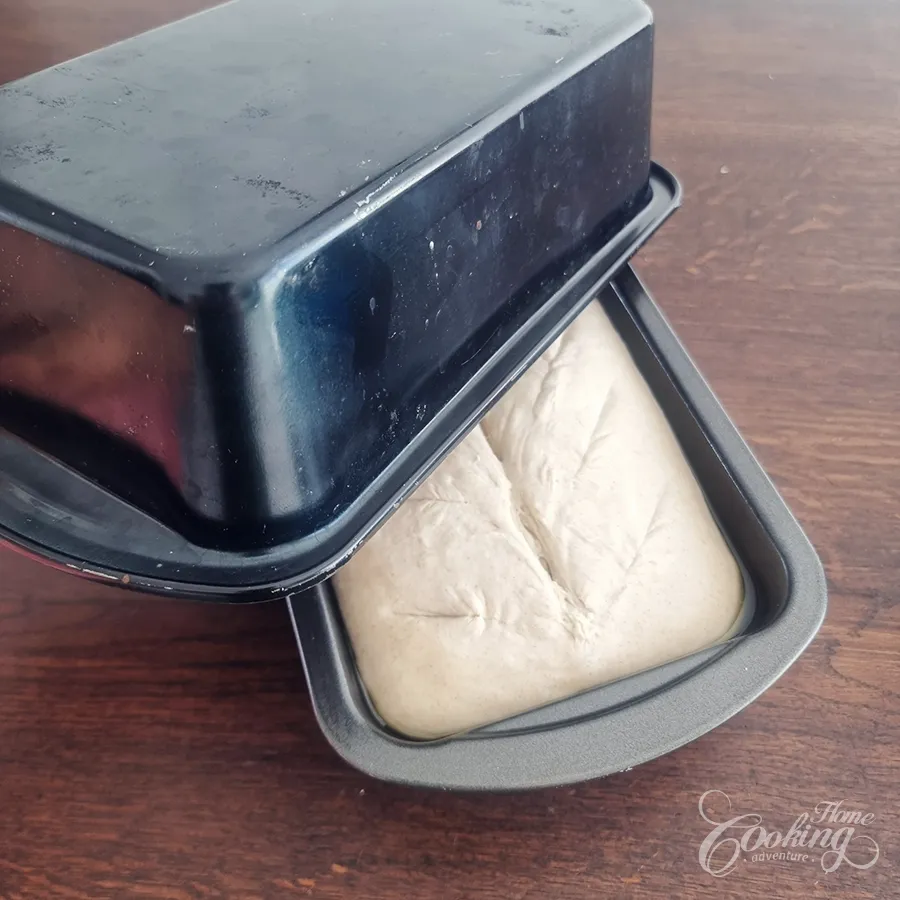
- Bake at 470°F (240°C) for 25 minutes. After the first 5 minutes of baking, carefully remove the top pan and score the loaf again if needed, then immediately place the pan back on top. Continue baking covered for the remaining 20 minutes.
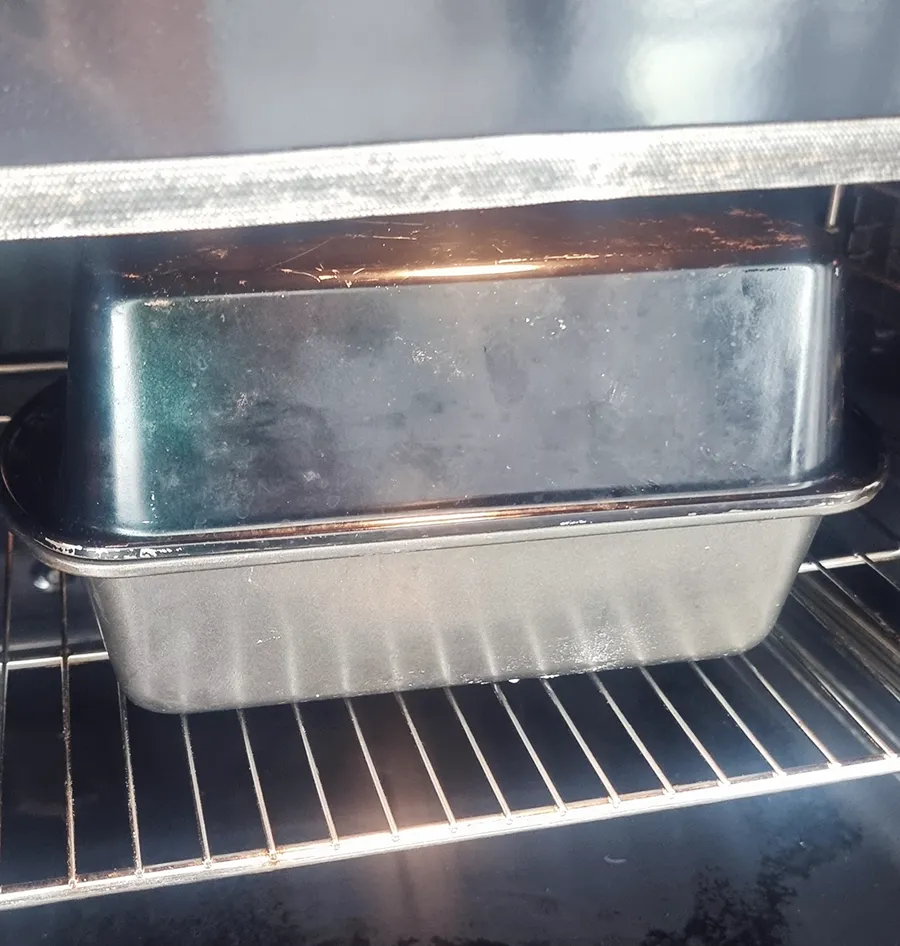
- Carefully remove the top loaf pan.
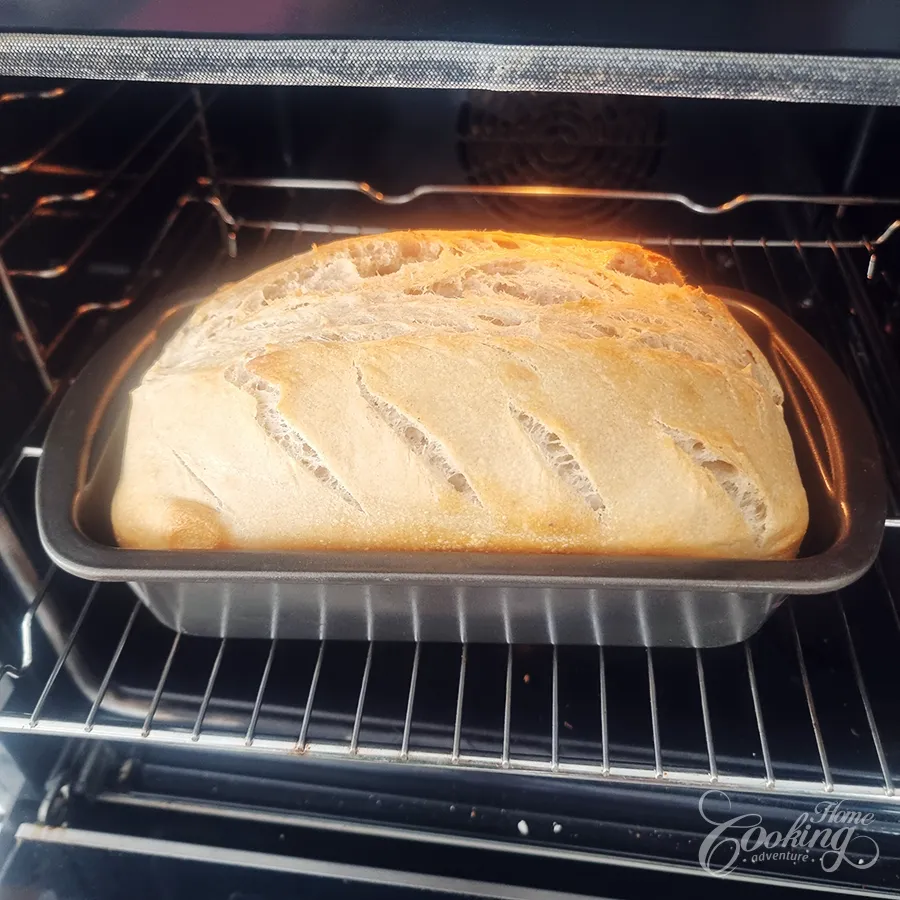
- Lower the oven temperature to 425°F (220°C) and continue baking for 10–15 minutes, or until the bread is deeply golden brown and sounds hollow when tapped.
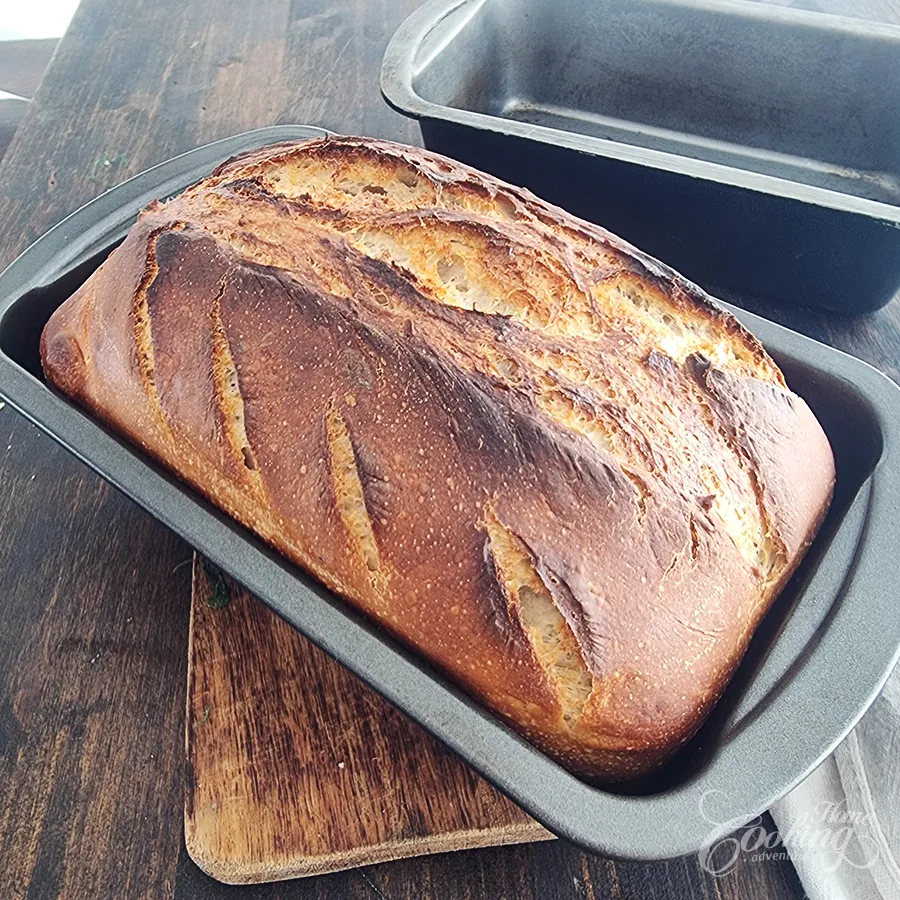
- Remove the bread from the pan and let it cool completely on a wire rack before slicing. This is important for getting a good crumb and avoiding gummy bread.
Notes
Nutrition
Did you make this recipe?
Please let me know how it turned out for you! Leave a comment below and tag @homecookingadventure on Instagram and hashtag it #homecookingadventure.
