

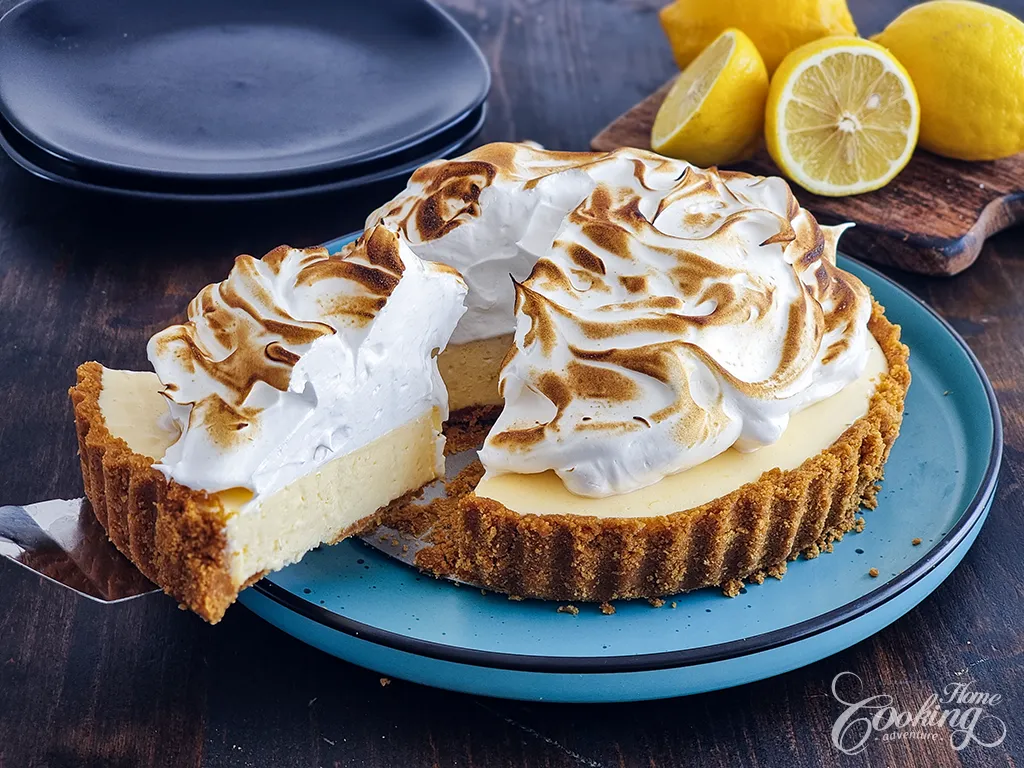
This No-Bake Lemon Meringue Tart is a bright and refreshing dessert made with a buttery biscuit crust, creamy homemade lemon curd filling, and a fluffy toasted meringue topping. It has all the flavors of a classic lemon meringue pie, but without turning on the oven for the tart itself.
The lemon curd brings plenty of fresh lemon flavor, while whipped cream makes the filling light and creamy. A generous layer of Swiss meringue on top adds just the right amount of sweetness and makes the tart look extra special.
It’s a beautiful dessert for spring and summer gatherings, Mother’s Day, birthdays, or whenever you’re craving something fresh and lemony.
Why You’ll Love This Lemon Meringue Tart
- No-bake crust – The biscuit crust comes together quickly and doesn’t need to be baked.
- Fresh lemon flavor – Homemade lemon curd made with fresh lemon juice and zest gives the filling a bright, natural lemon taste.
- Creamy and light – Whipped cream folded into the lemon curd makes the filling smooth and airy.
- Perfect contrast – The crisp biscuit crust, creamy lemon filling, and soft meringue work beautifully together.
- Make-ahead friendly – The tart needs several hours to chill, making it a great dessert to prepare the day before.
- Beautiful without much decorating – A little toasted meringue on top makes this tart look impressive with very little effort.
Ingredients You’ll Need
For the Biscuit Crust
- Digestive biscuits – Crushed into fine crumbs to create the no-bake crust. Graham crackers can also be used.
- Unsalted butter – Helps bind the crumbs together and gives the crust a rich, buttery flavor.
- Sugar – Adds a little sweetness to the crust.
- Salt – Balances the sweetness.
For the Lemon Curd Filling
- Egg yolks – Give the lemon curd richness and help it thicken.
- Granulated sugar – Balances the tartness of the lemon.
- Fresh lemon juice – Use freshly squeezed lemon juice for the best flavor.
- Lemon zest – Adds extra lemon flavor and aroma.
- Unsalted butter – Makes the curd smooth, rich, and silky.
- Gelatin – Helps the filling set firmly enough to slice while keeping it creamy.
- Heavy cream – Whipped and folded into the cooled lemon curd to make the filling lighter and creamier.
- Vanilla extract – Adds a subtle background flavor.
Meringue
- Egg whites – Form the base of the meringue and whip into a light, fluffy topping.
- Granulated sugar – Sweetens the meringue and gives it a smooth, glossy texture.
- Cream of tartar or lemon juice – Helps stabilize the egg whites and keeps the meringue firm and smooth.
- Vanilla extract – Adds a subtle flavor that complements the lemon.
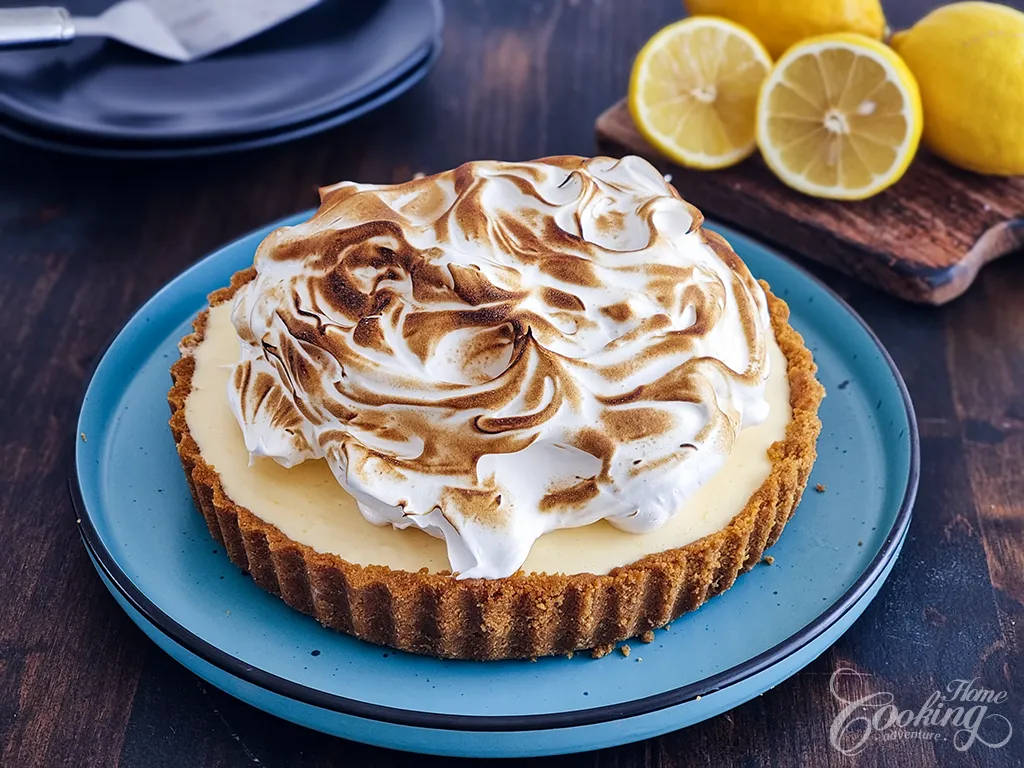
I like using Swiss meringue for this tart because it is glossy, smooth, and stable, and it can easily be toasted with a kitchen torch.
How to Make No-Bake Lemon Meringue Tart
1. Make the crust.
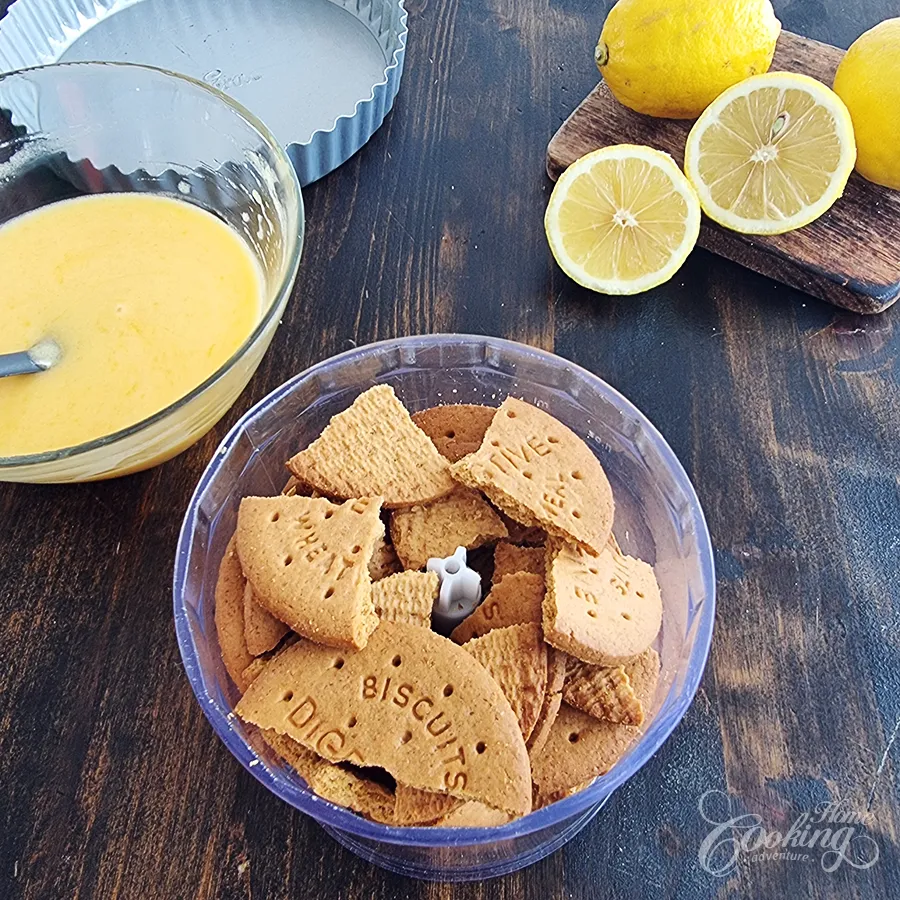
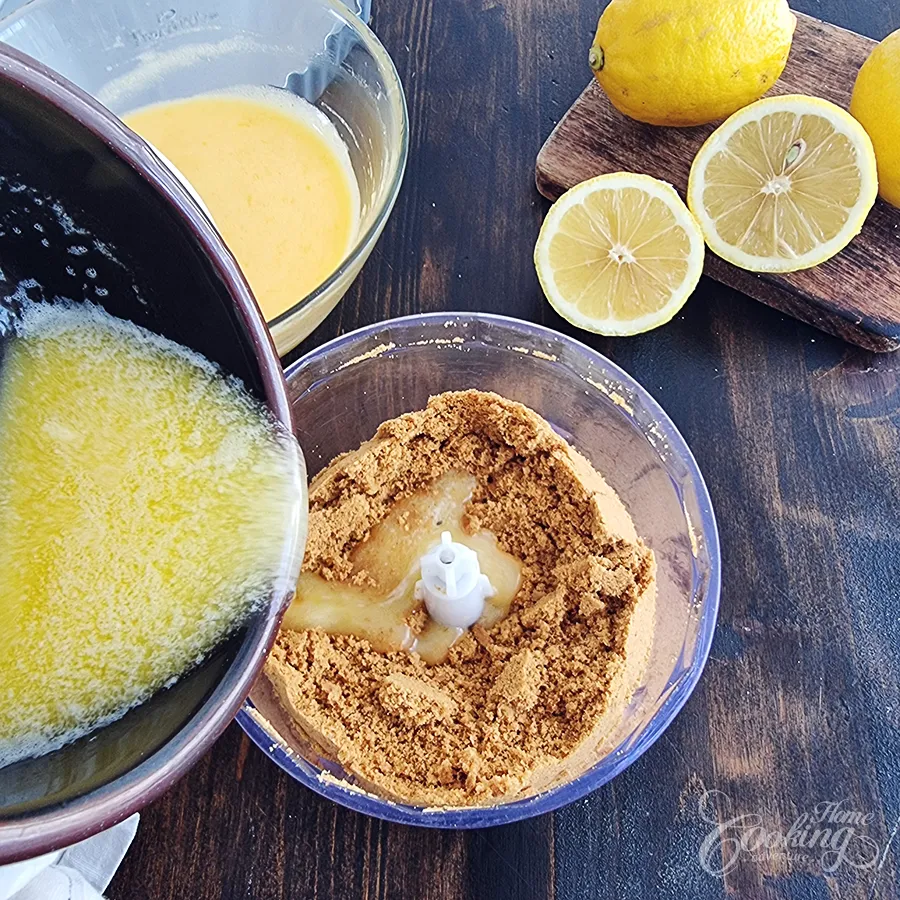
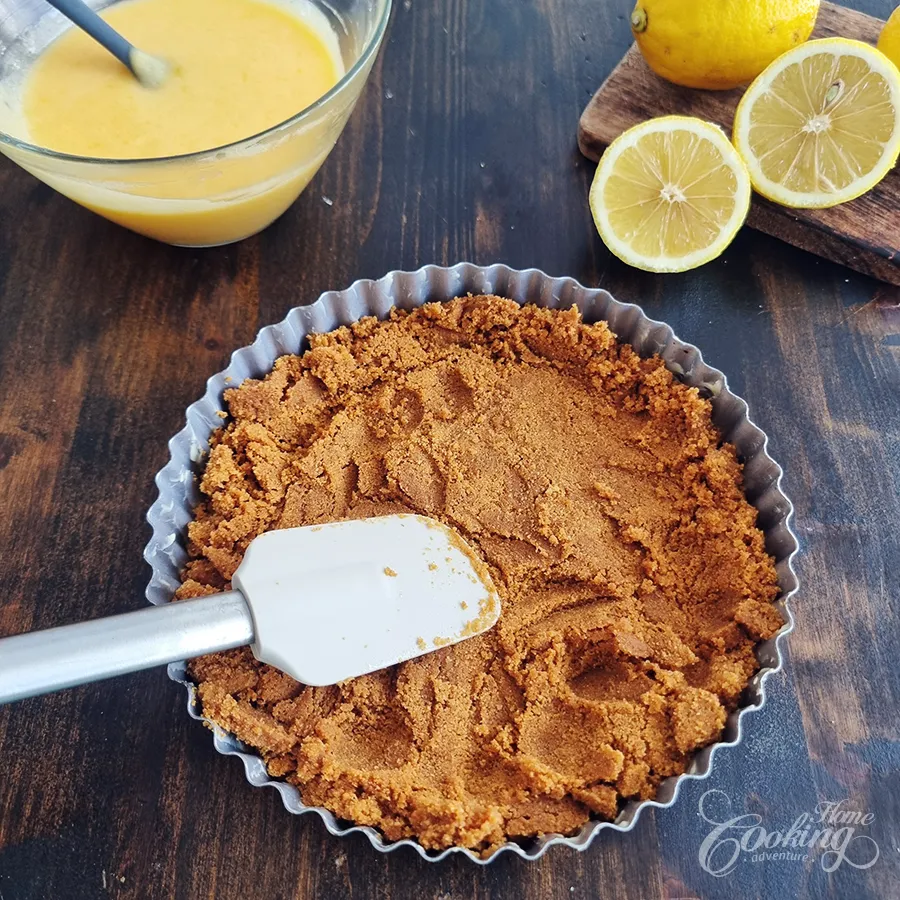
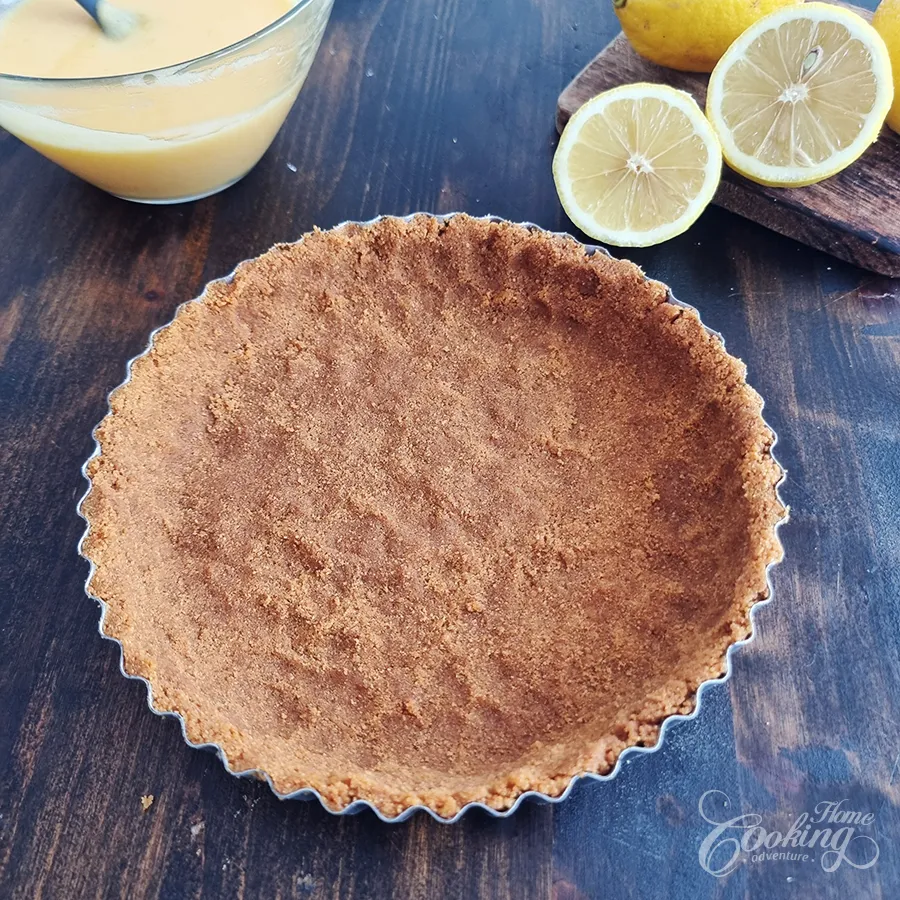
Crush the digestive biscuits into fine crumbs and combine them with melted butter, sugar, and salt. Press the mixture firmly into the bottom and sides of an 8-inch (20cm) tart pan. Refrigerate while preparing the filling.
2. Make the lemon curd.
Whisk the egg yolks, sugar, lemon juice, and lemon zest in a heatproof bowl. Place the bowl over a saucepan of gently simmering water and cook, whisking constantly, until the curd thickens.
3. Add the butter and gelatin.
Remove the curd from the heat and stir in the butter until smooth. Bloom the gelatin in cold water, then stir it into the warm lemon curd until completely dissolved. Allow the curd to cool.
4. Add the whipped cream.
Whip the cold heavy cream until it forms soft peaks. Once the lemon curd has cooled, gently fold in the whipped cream.
5. Fill and chill.
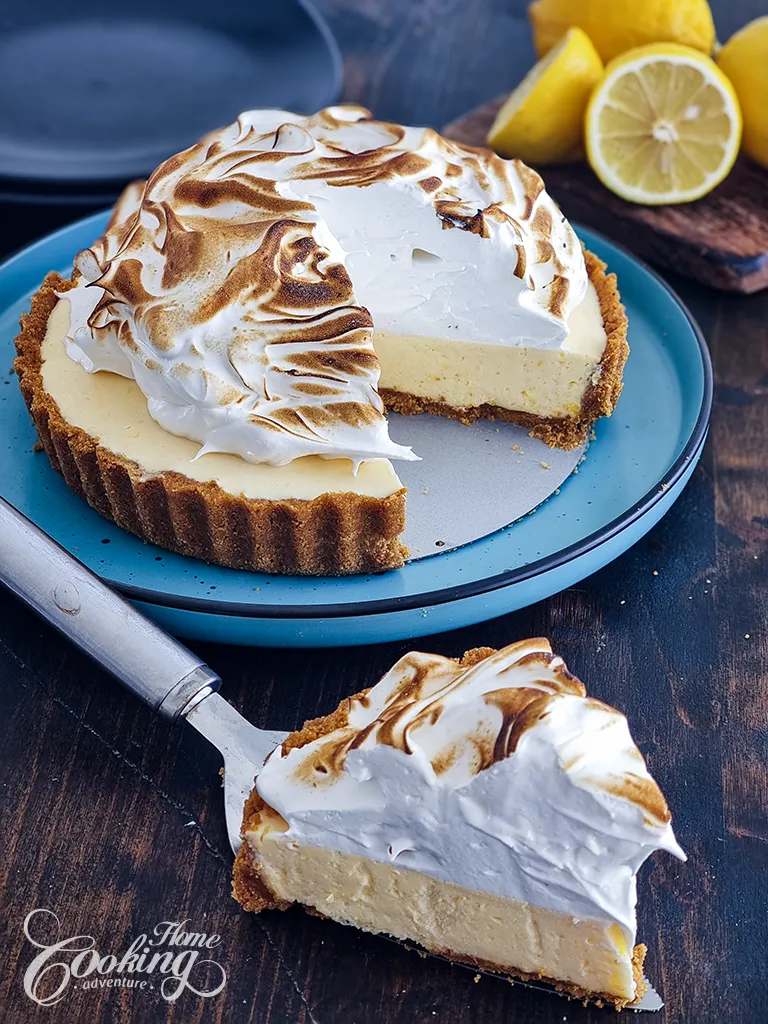
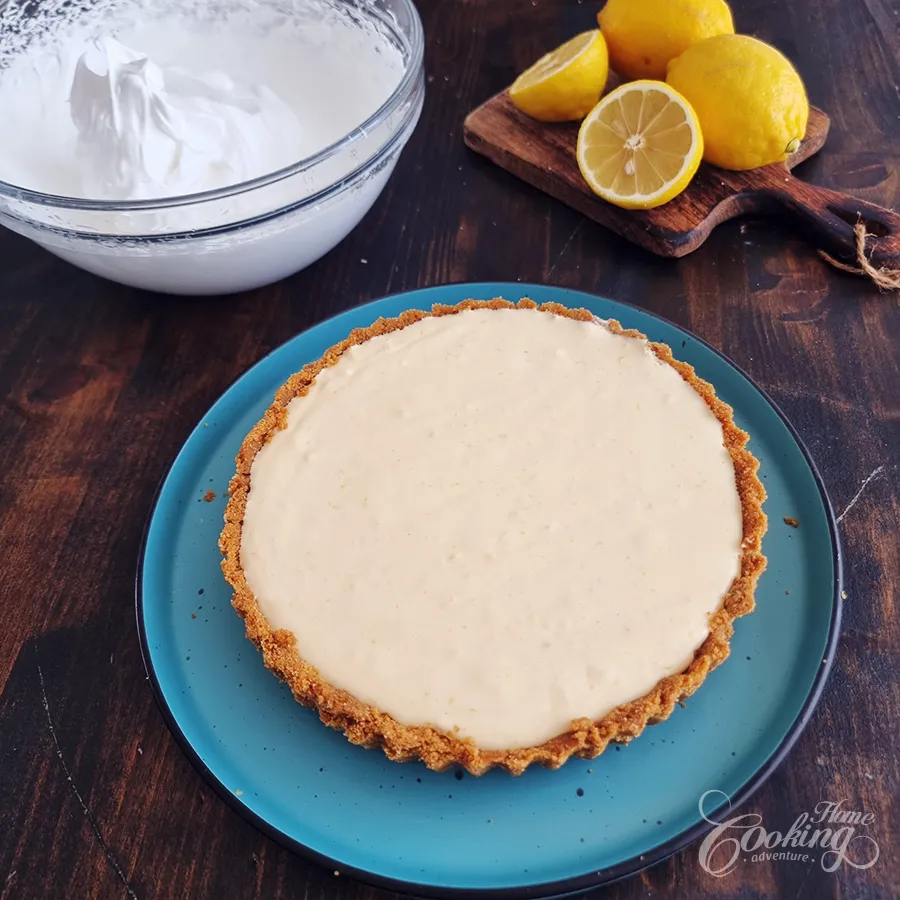
Pour the lemon filling into the chilled crust and smooth the top. Refrigerate for at least 6 hours, or preferably overnight.
6. Make the meringue.
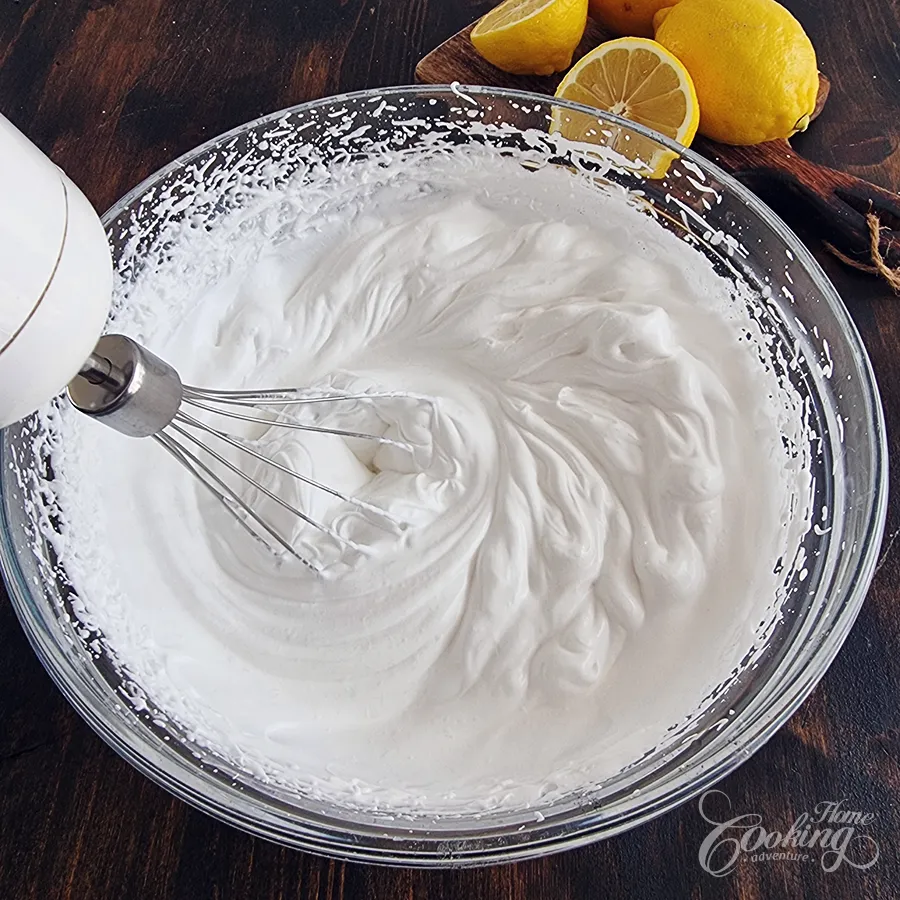
For the Swiss meringue, combine the egg whites, sugar, and cream of tartar in a heatproof bowl. Place over simmering water and whisk until the sugar dissolves and the mixture reaches 160°F (71°C). Whip until glossy and stiff, then add the vanilla.
7. Finish the tart.
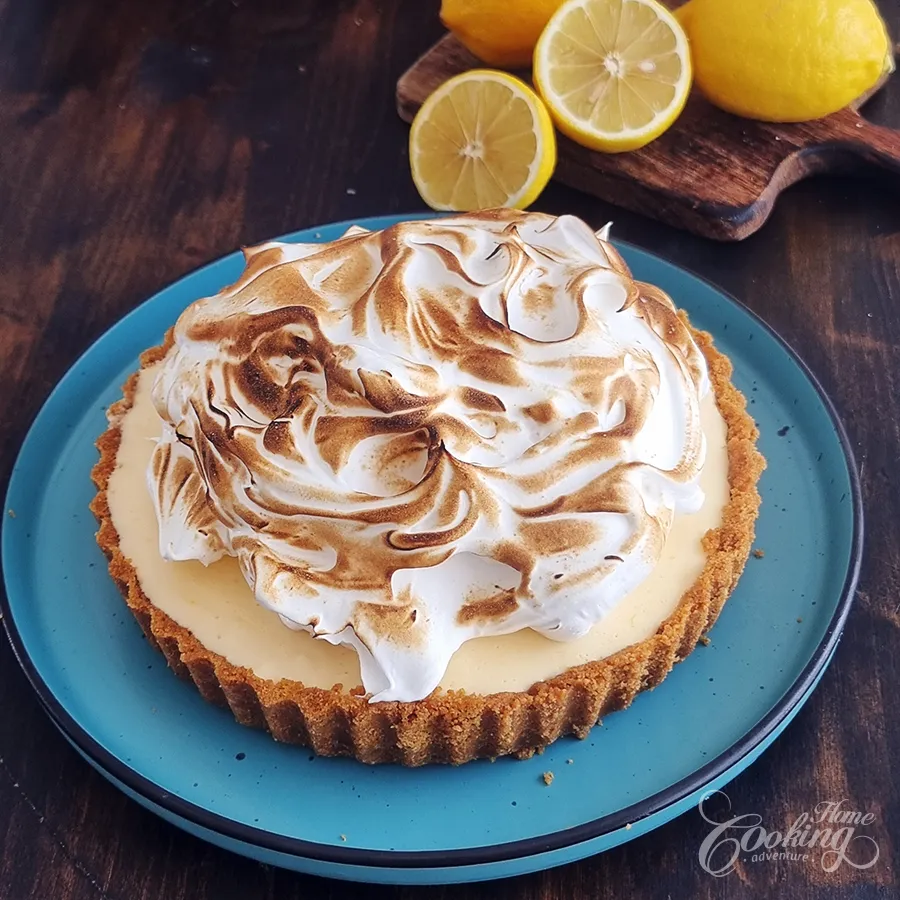
Spread or pipe the meringue over the chilled tart. Use a kitchen torch to lightly toast the meringue until golden. Keep refrigerated until ready to serve.
Tips for Making the Best Lemon Meringue Tart
Use fresh lemons.
Freshly squeezed lemon juice and freshly grated zest make a noticeable difference in the flavor.
Let the lemon curd cool before adding the whipped cream.
If the curd is too warm, it can melt the whipped cream and make the filling too loose.
Press the crust firmly.
Use the bottom of a glass or measuring cup to compact the biscuit mixture, especially around the edges. This helps the crust hold together when sliced.
Don’t skip the chilling time.
The tart needs several hours in the refrigerator for the filling to fully set. Overnight is even better if you’re making it ahead.
Use a kitchen torch for the meringue.
A quick pass with a kitchen torch gives the meringue that beautiful golden finish and adds a lightly toasted flavor.
Keep the tart refrigerated.
Because the filling contains whipped cream and the meringue contains egg whites, store the finished tart in the refrigerator until you’re ready to serve it.
Frequently Asked Questions
Can I make this lemon tart ahead of time?
Yes. The tart is perfect for making ahead. Prepare the crust and lemon filling the day before and refrigerate overnight. For the best meringue, add and toast it closer to serving time.
Can I use store-bought lemon curd?
Yes, if you’re short on time. However, homemade lemon curd gives the tart a much fresher lemon flavor and allows you to control the sweetness and tartness.
Can I make this tart without gelatin?
The gelatin helps the creamy lemon filling hold its shape, so I recommend using it. Without gelatin, the filling will be softer and may not slice as cleanly.
Can I use graham crackers instead of digestive biscuits?
Absolutely. Graham crackers work very well in the crust. You may need to adjust the butter slightly depending on how fine and dry your crumbs are.
How long does the lemon meringue tart keep?
Store the tart covered in the refrigerator and enjoy it within 2–3 days. The meringue is best during the first day or two.
Can I freeze this tart?
I don’t recommend freezing the finished tart because the whipped cream and meringue can change texture after thawing. The biscuit crust and lemon curd can be prepared ahead separately, though.
More Lemon Desserts to Try
If you love fresh and zesty lemon desserts, here are a few more recipes you might enjoy:
- Lemon Meringue Tart – A classic dessert with silky lemon filling and fluffy meringue.
- Lemon Blueberry Tiramisu – An easy creamy dessert that’s perfect for warm weather.
- Lemon Bars – Buttery crust topped with a bright and tangy lemon layer.
- Lemon Cottage Cheesecake Bars – A creamy cheesecake with plenty of fresh lemon flavor.
- Lemon Pudding Cake – A soft and comforting dessert with a light cake layer and a deliciously creamy lemon pudding underneath.
- Lemon Poppy Seed Meringue Cupcakes– Refreshing cupcakes filled with lemon curd and topped with fluffy meringue.
- Ladyfinger Lemon Poppy Seed Cake Roll – A beautiful no-bake dessert made with ladyfingers, lemon curd, and poppy seeds. It’s light, refreshing, and perfect for spring and summer.
For more lemon desserts check our collection of 40 Irresistible Lemon Desserts for Every Occasion.
Video
No-Bake Lemon Meringue Tart with Lemon Curd
Ingredients
For the crust
- 7 oz (200g) digestive biscuits or graham crackers
- 1/3 cup (80g) butter , melted
For the lemon curd filling
- 3 large egg yolks
- 1/2 cup (100g) granulated sugar
- 1/2 cup (120ml) freshly squeezed lemon juice
- Zest of 2 lemons
- 3 tbsp (45g) unsalted butter , cut into pieces
- 1/2 tbsp (5g) powdered gelatin
- 2 tbsp (30ml) cold water , for dissolving the gelatin
- 2/3 cup (160g) whipping cream , cold
For the Swiss meringue
- 3 egg whites , at room temperature
- 2/3 cup (135g) granulated sugar
- 1/4 tsp (1g) cream of tartar , or 1 tsp lemon juice
- 1/4 tsp (1g) salt
- 1 tsp (5g) vanilla extract
Instructions
Make the biscuit crust.
- Crush the digestive biscuits into fine crumbs.
- Mix with the melted butter until the mixture resembles wet sand.
- Press firmly into the bottom and sides of an 8-inch tart pan.
- Refrigerate for at least 30 minutes or until you prepare the filling.
Make the lemon curd.
- Separate the whites from the yolks. Keep the whites for the meringue topping.
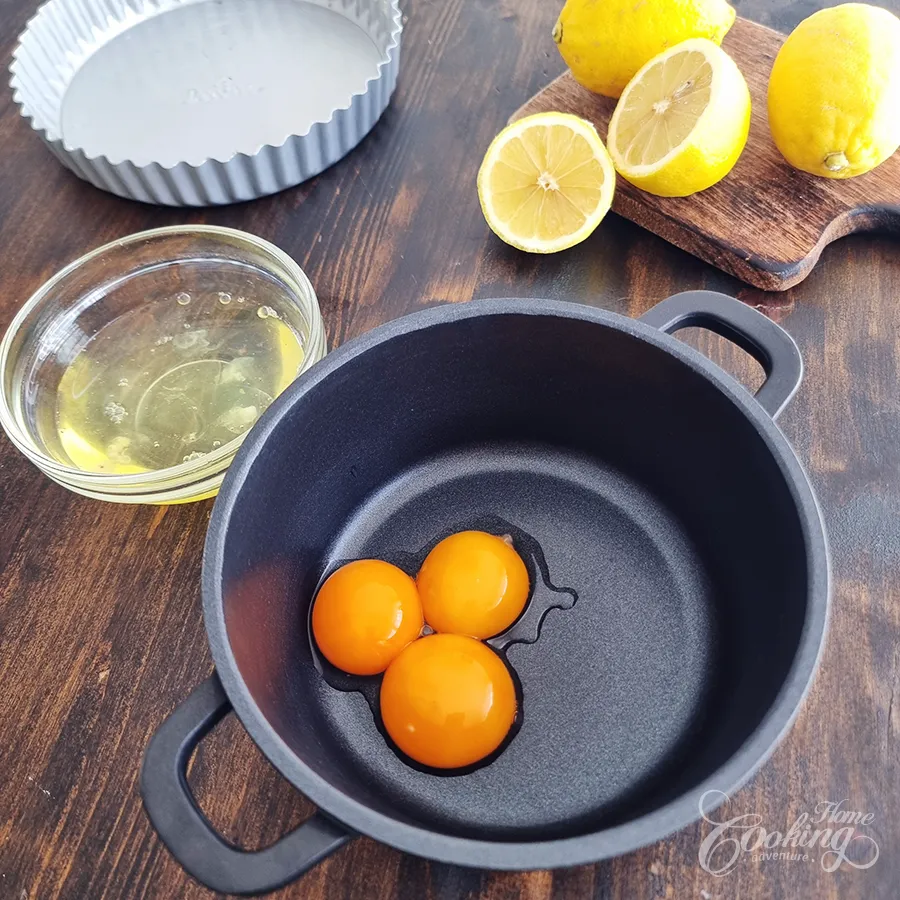
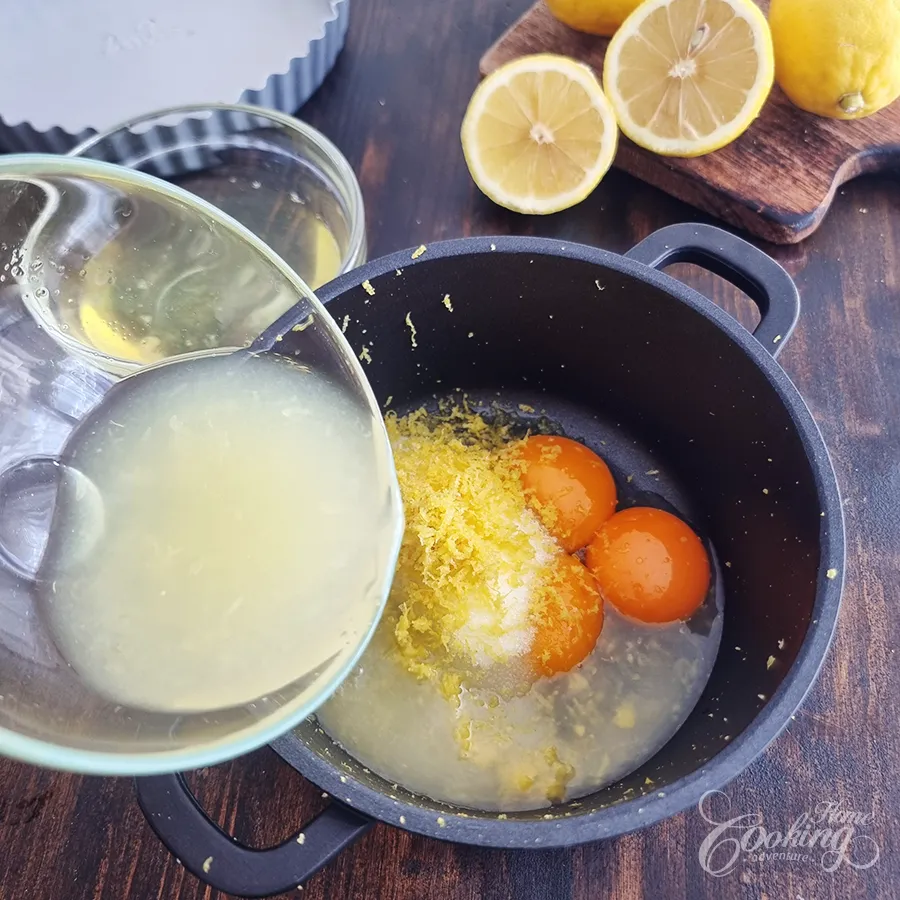
- Place the egg yolks, sugar, lemon juice, and lemon zest in a heatproof bowl.
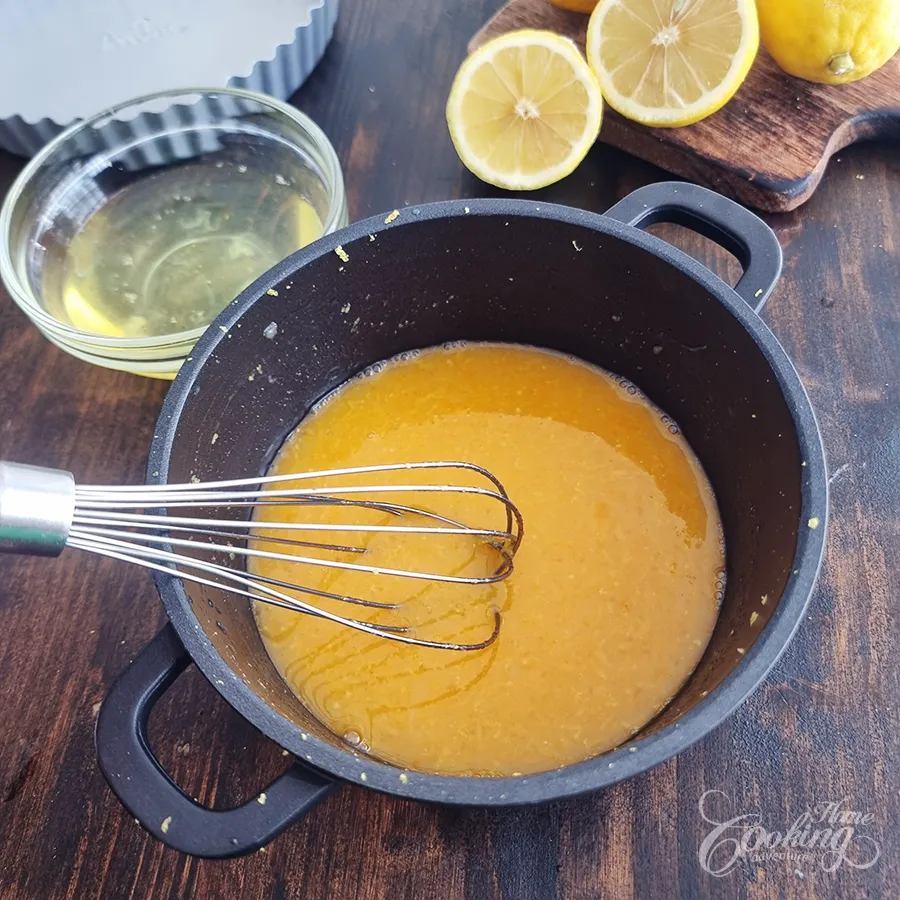
- Whisk until smooth.
- Set the bowl over a saucepan of gently simmering water, making sure the bottom doesn't touch the water.
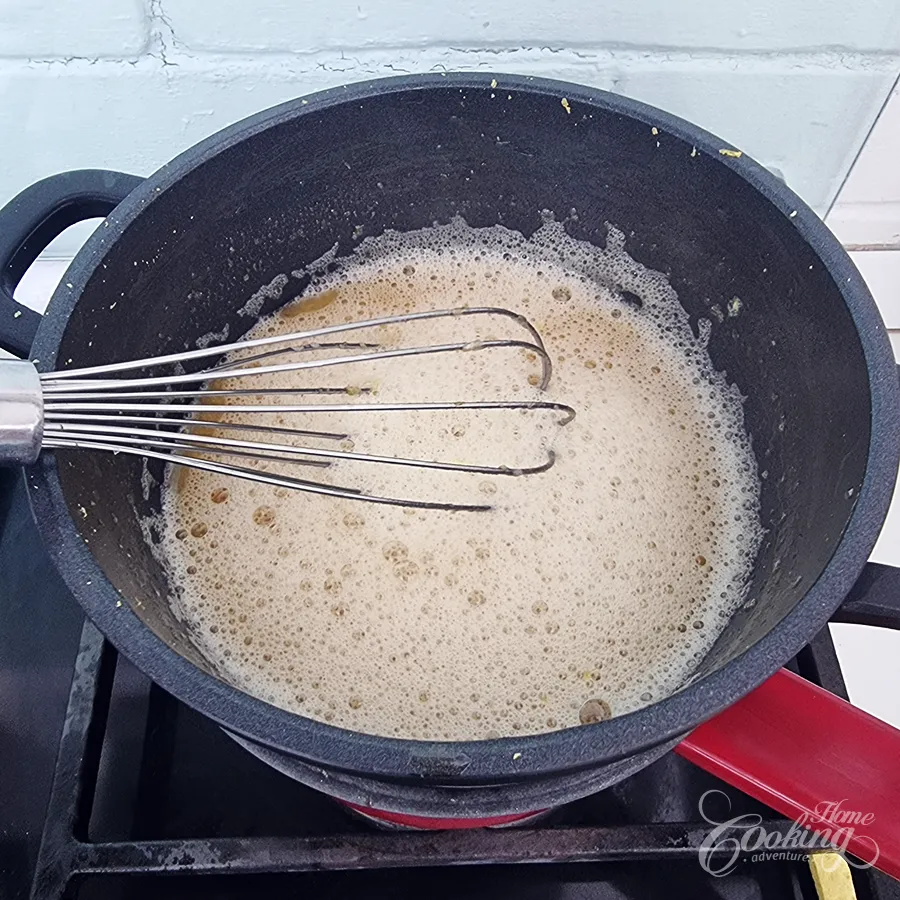
- Cook, whisking constantly, for about 8–10 minutes, until the curd thickens enough to coat the back of a spoon.
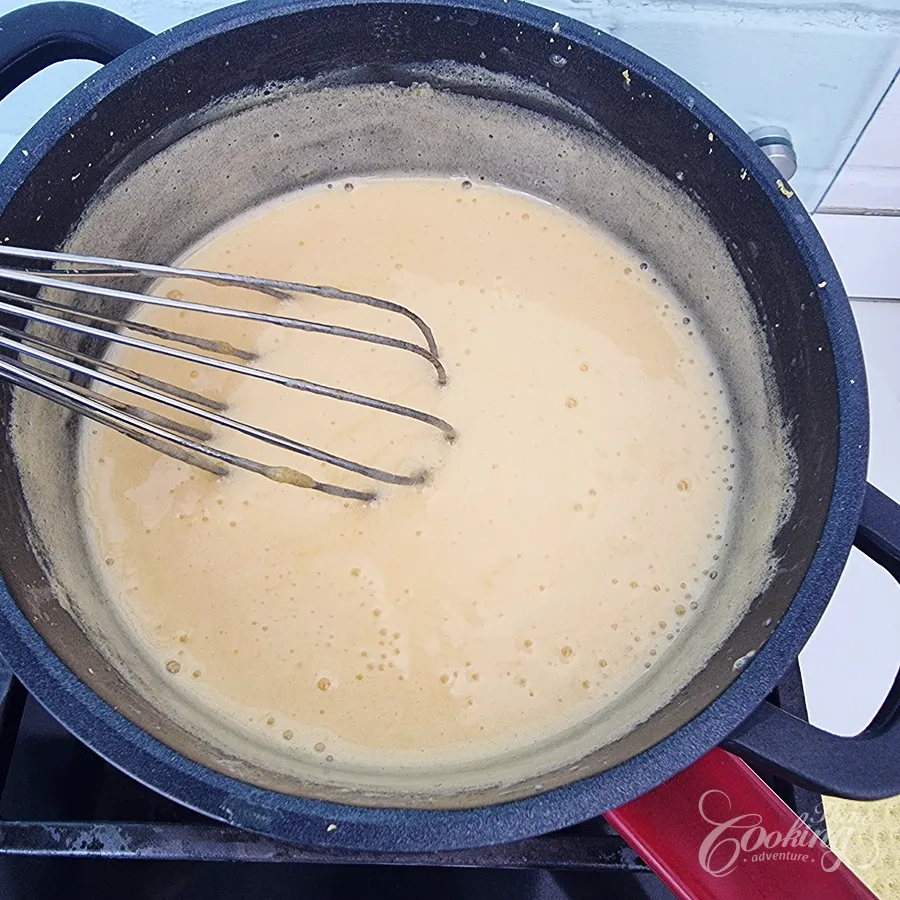
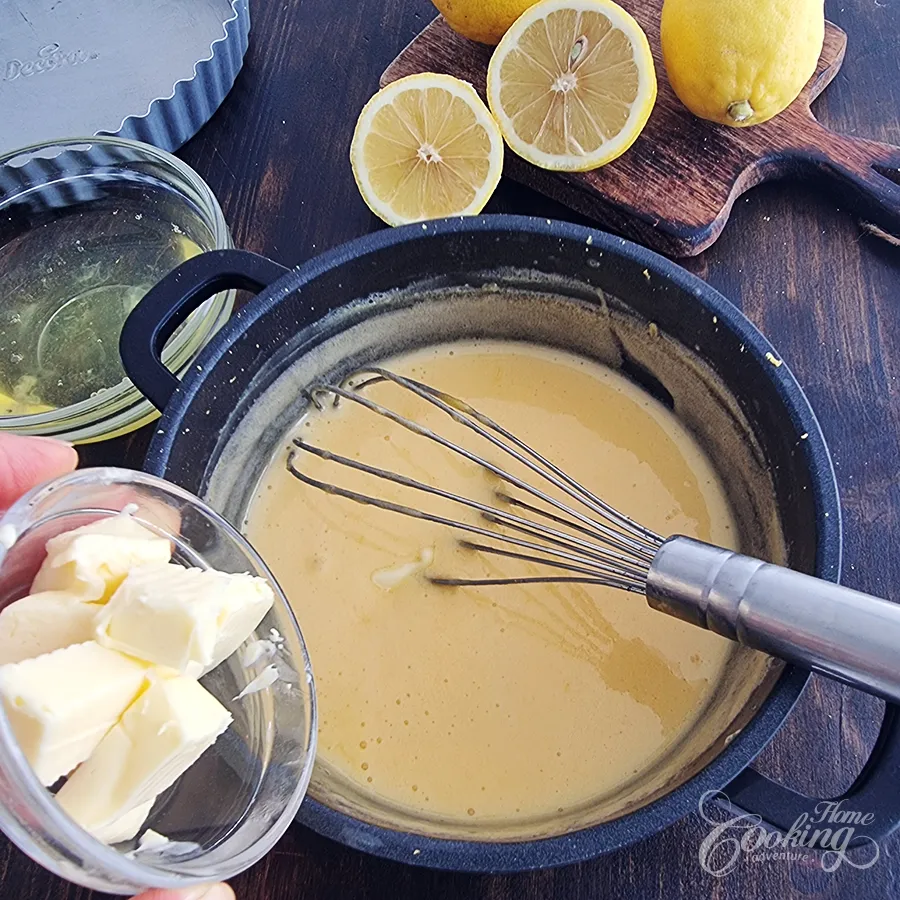
- Remove the curd from the heat and stir in the butter, one piece at a time, until smooth
- Sprinkle the gelatin over the cold water.
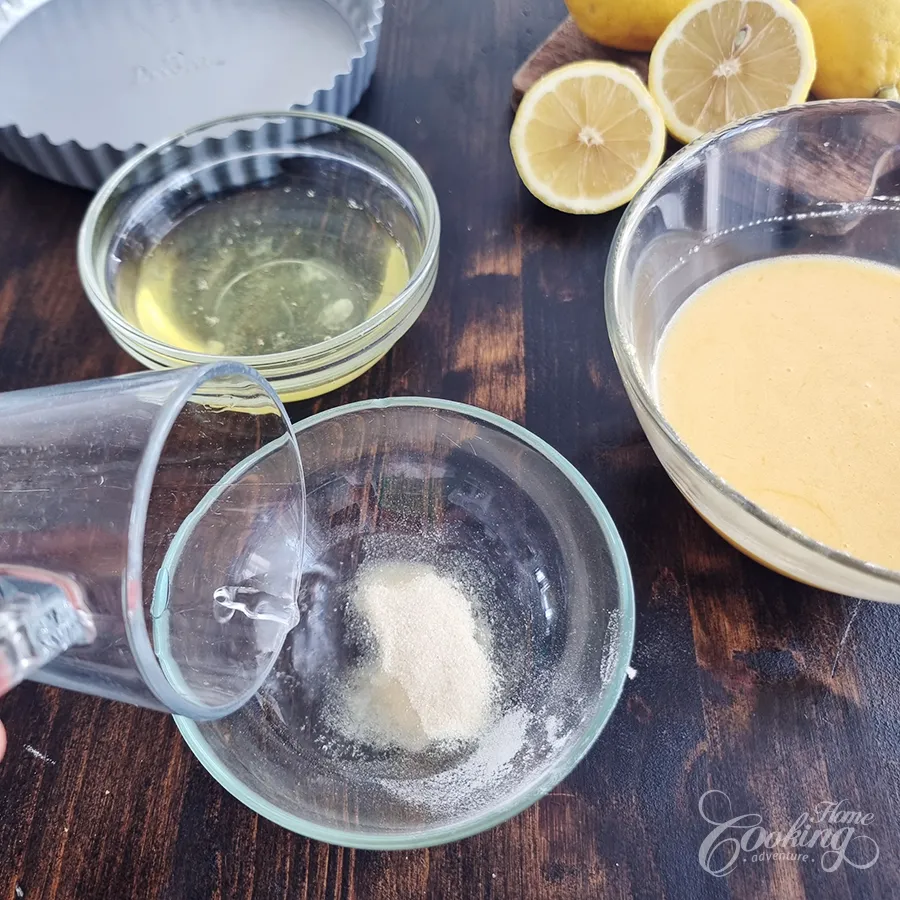
- Let it stand for 5 minutes to bloom.
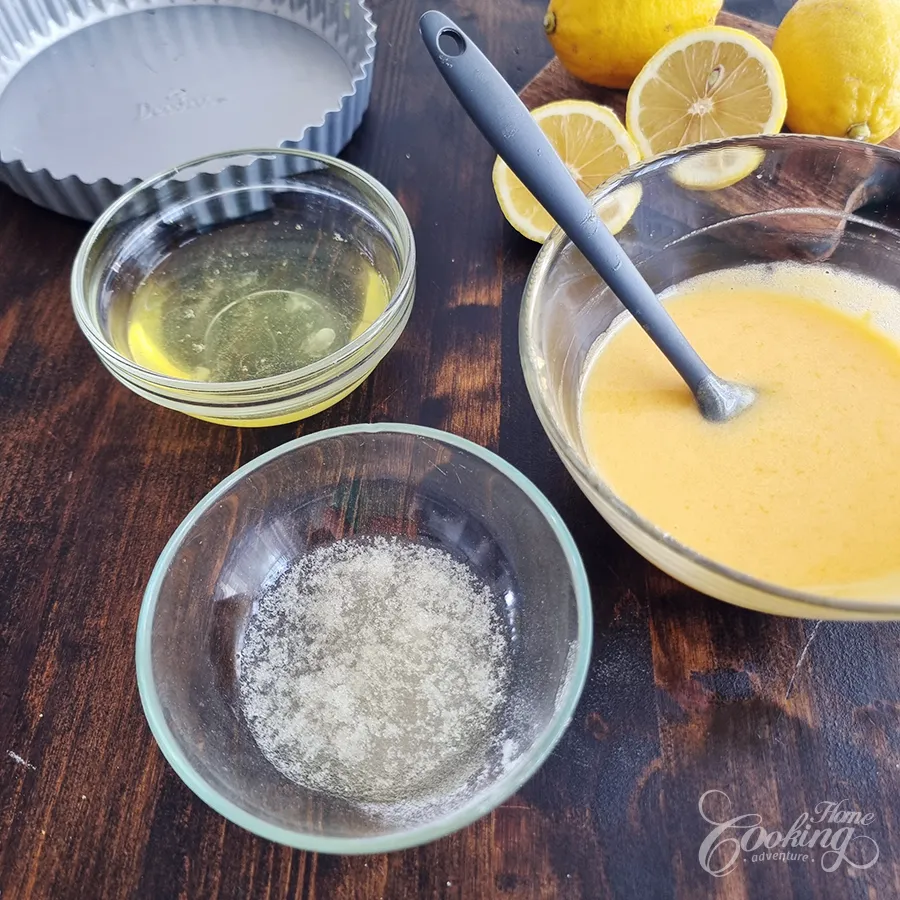
- Stir it into the warm lemon curd until completely dissolved.
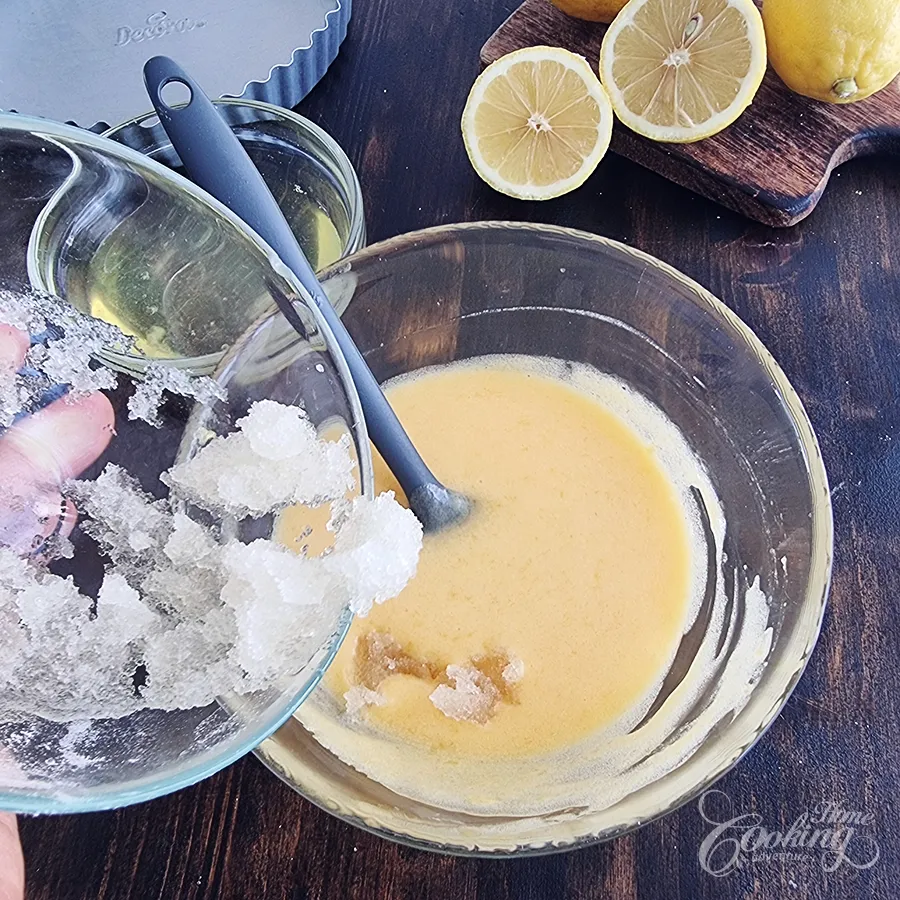
- Let the curd cool to room temperature.
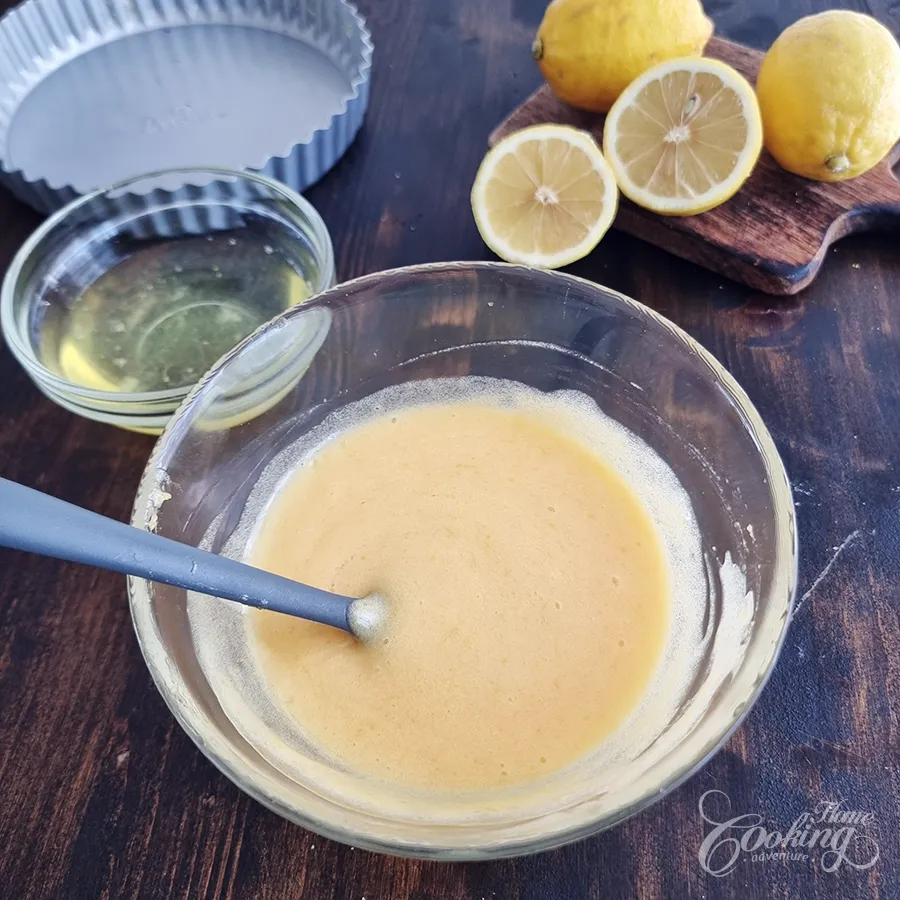
Fold in the whipped cream.
- Whip the cold whipping cream until it forms soft-to-medium peaks.
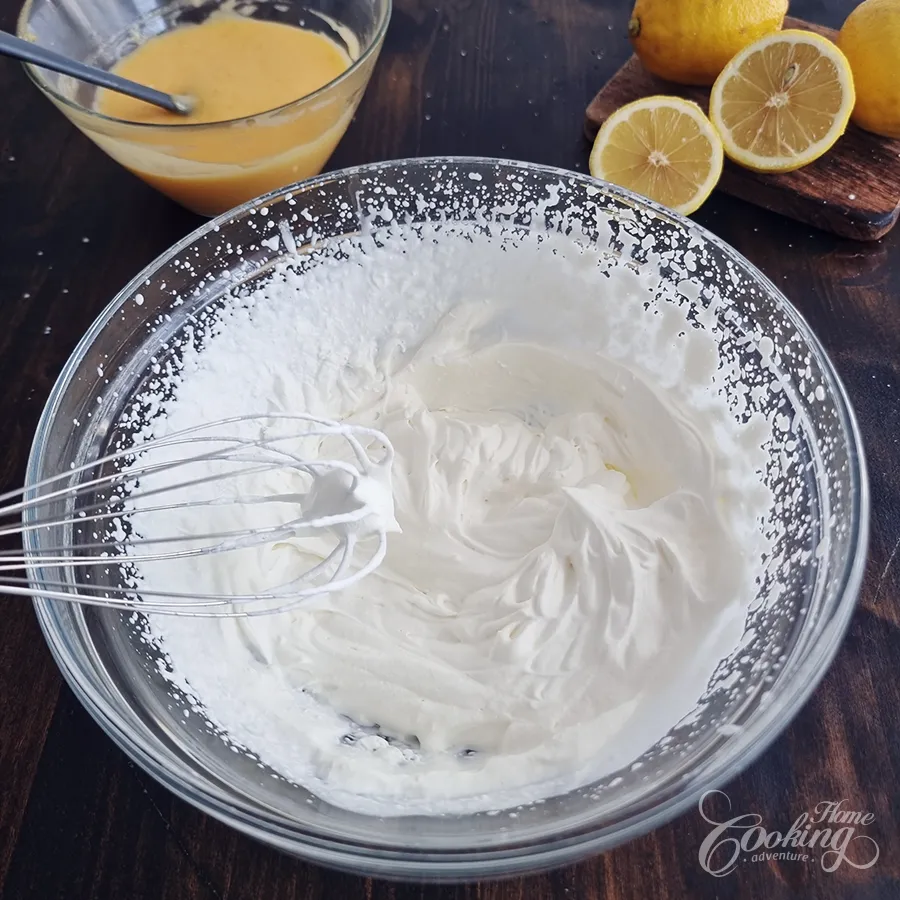
- Once the lemon curd has cooled but is still smooth and spoonable, gently fold in the whipped cream, in batches.
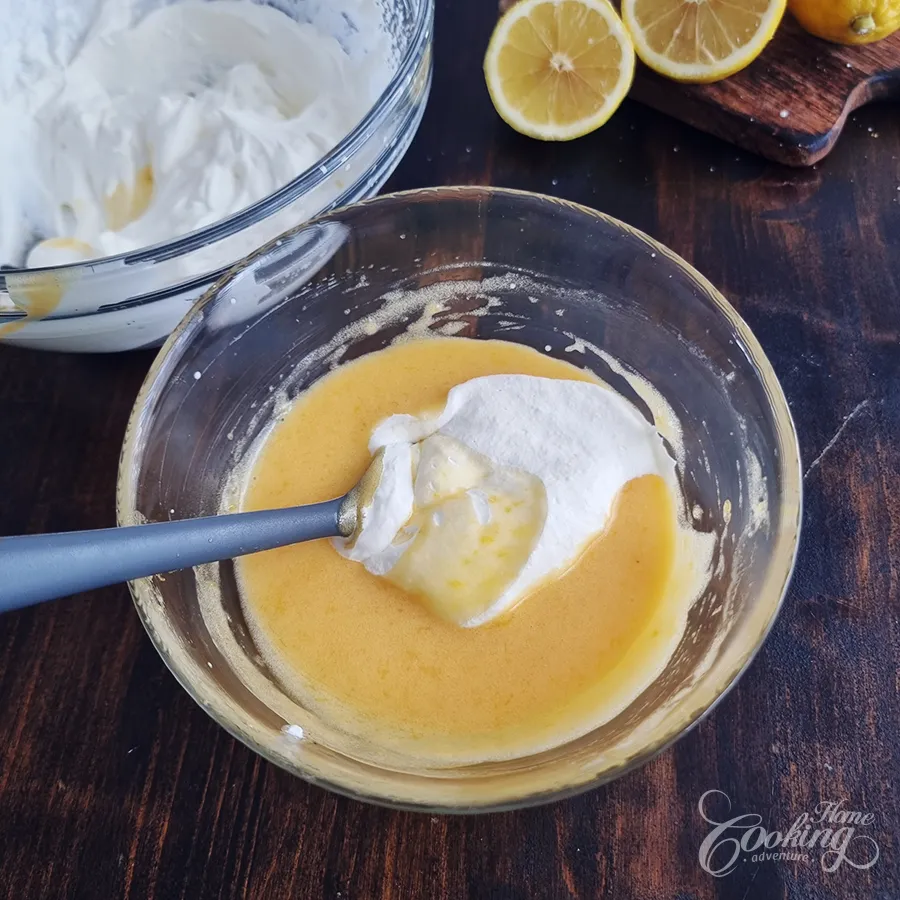
- Gently mix until fully incorporated.
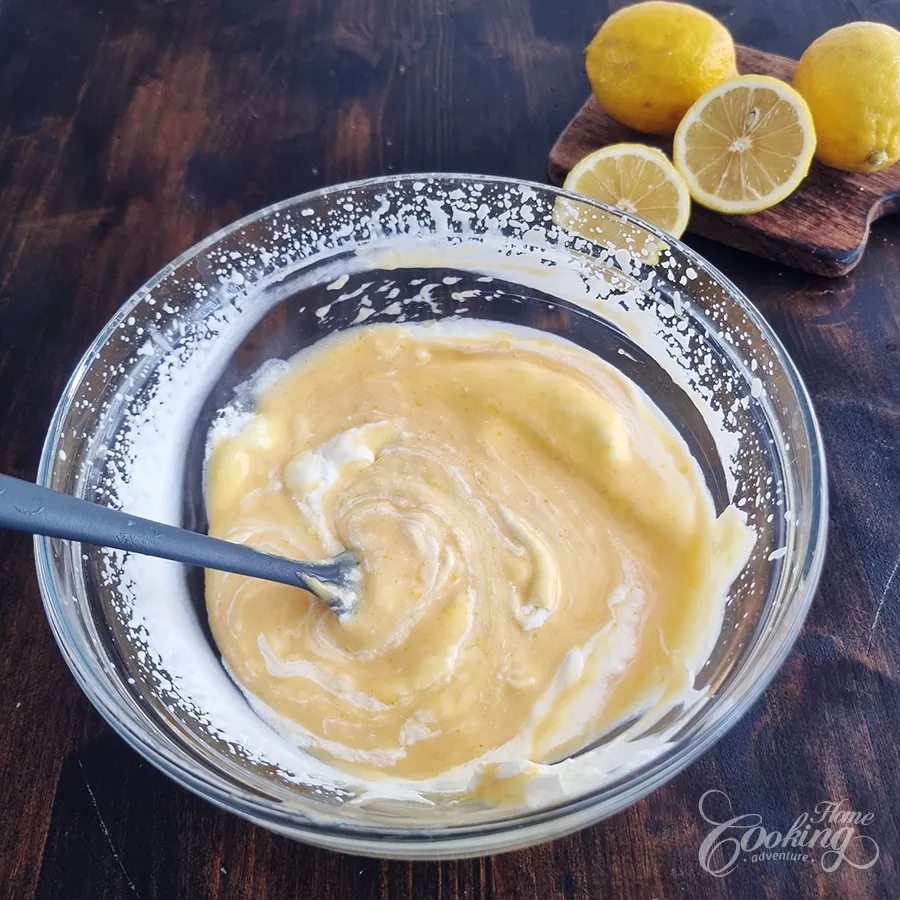
Fill and chill the tart.
- Pour the lemon filling into the chilled crust and smooth the top.
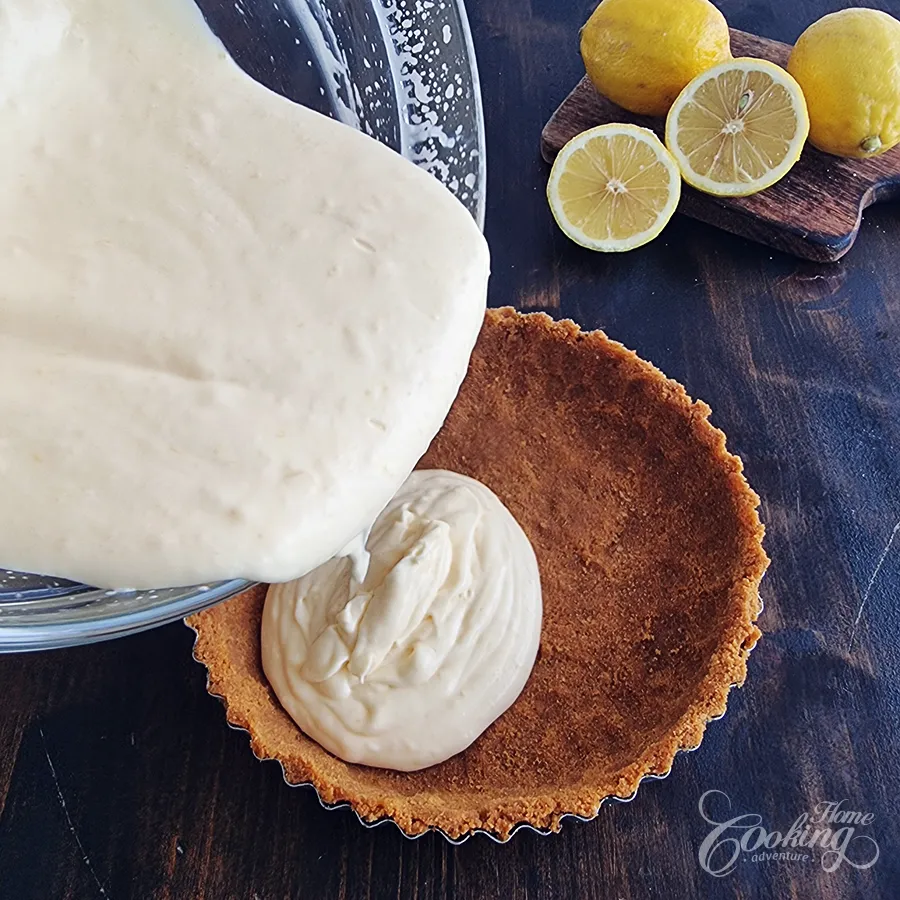
- Refrigerate for at least 6 hours, preferably overnight, until completely set.
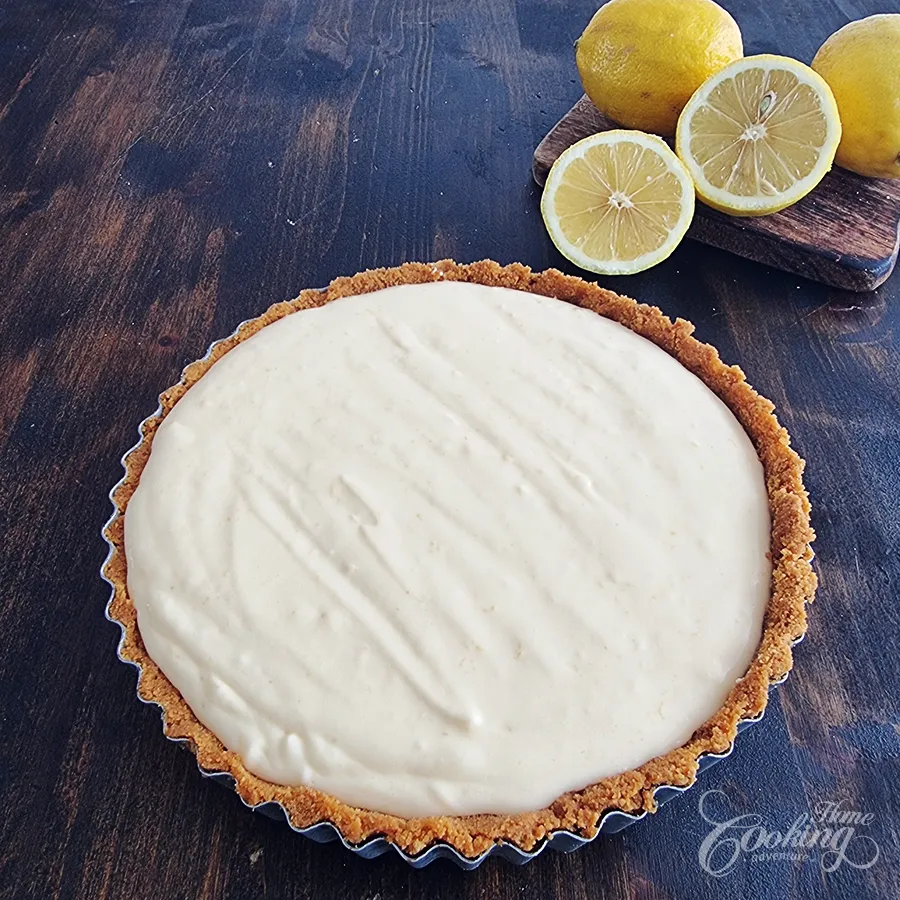
Make the Swiss meringue.
- Place the whites, sugar, cream of tartar and salt in a heat proof bowl. Place over a pan with simmering water (bain-marie).
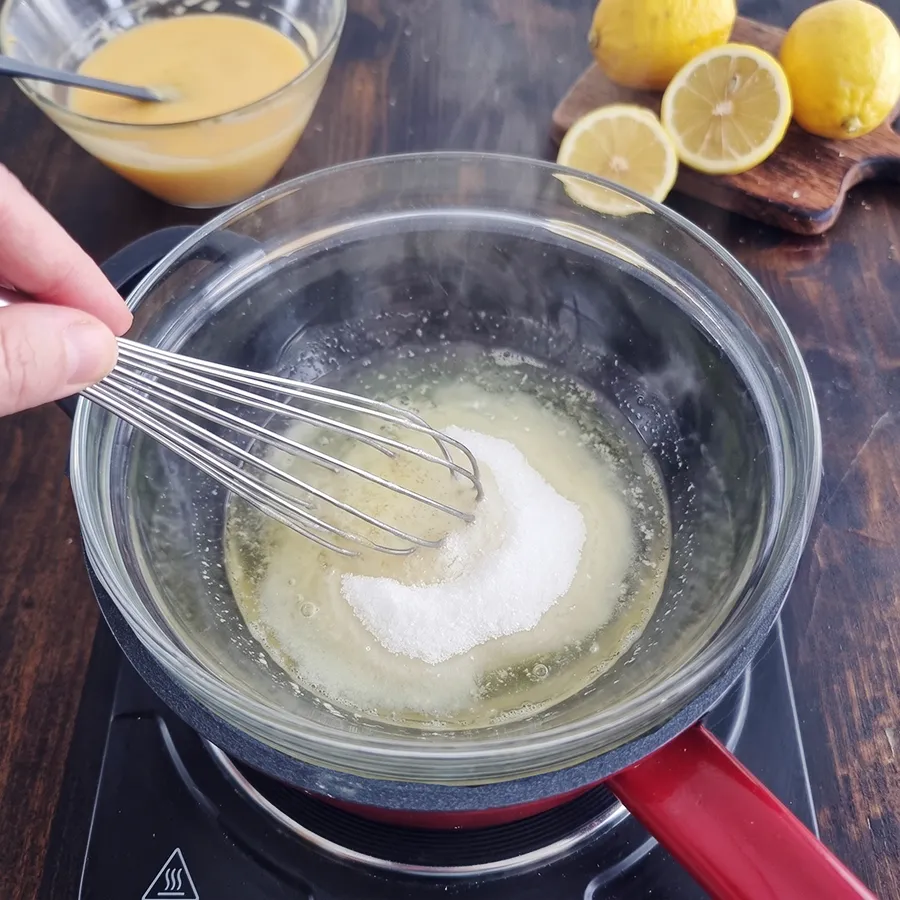
- Whisk constantly, for about 5 minutes, or if you have a thermometer until it reaches 160°F (71°C).
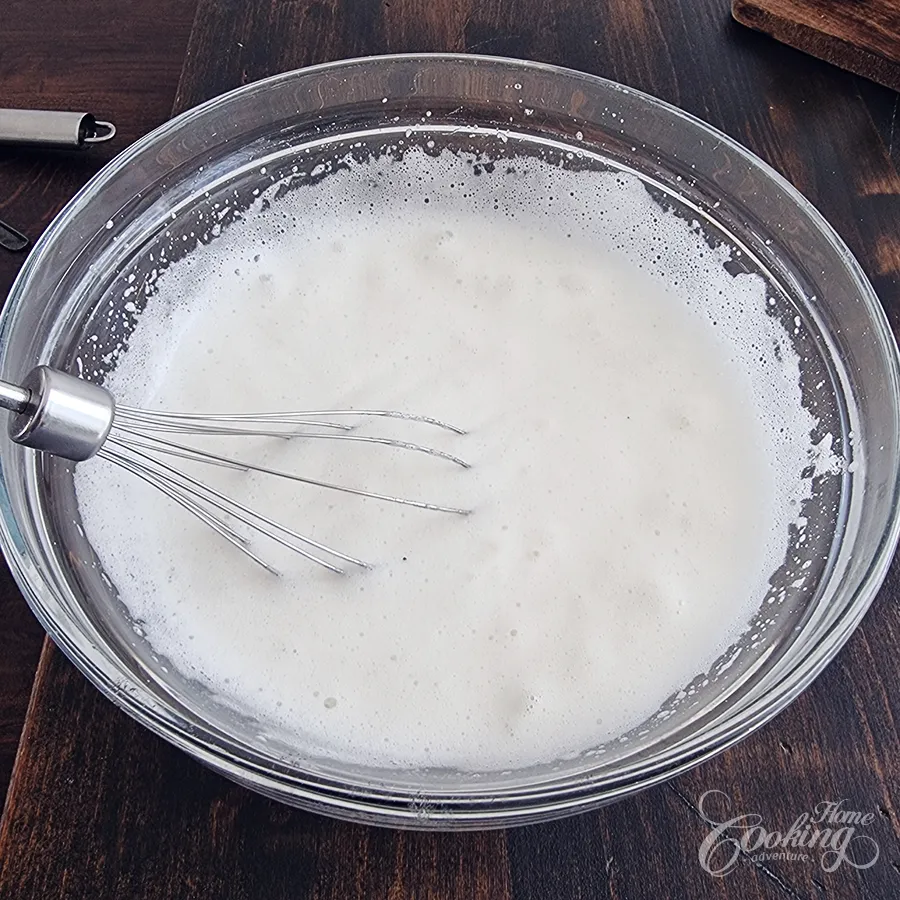
- Remove from heat and start mixing on high speed for about 5-7 minutes, until glossy stiff peaks form. Incorporate vanilla extract while mixing.
- Remove the chilled tart from the refrigerator.
- Spread or pipe the meringue over the chilled lemon tart.
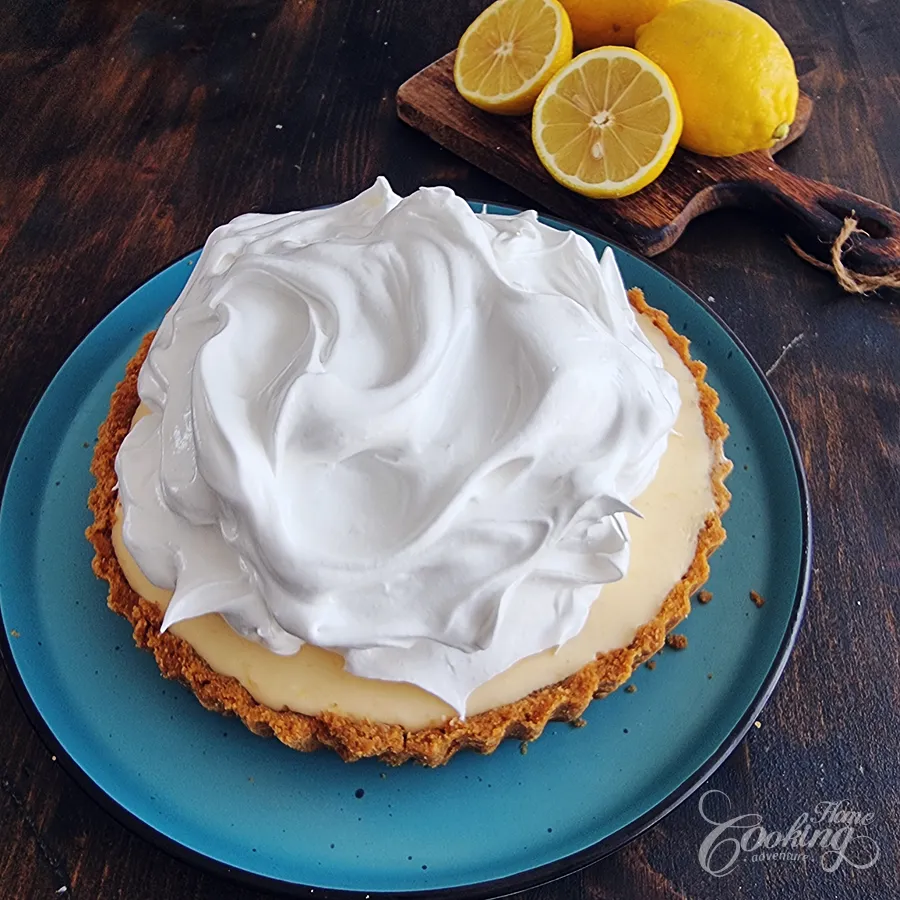
- Use a kitchen torch to lightly toast the meringue until golden.
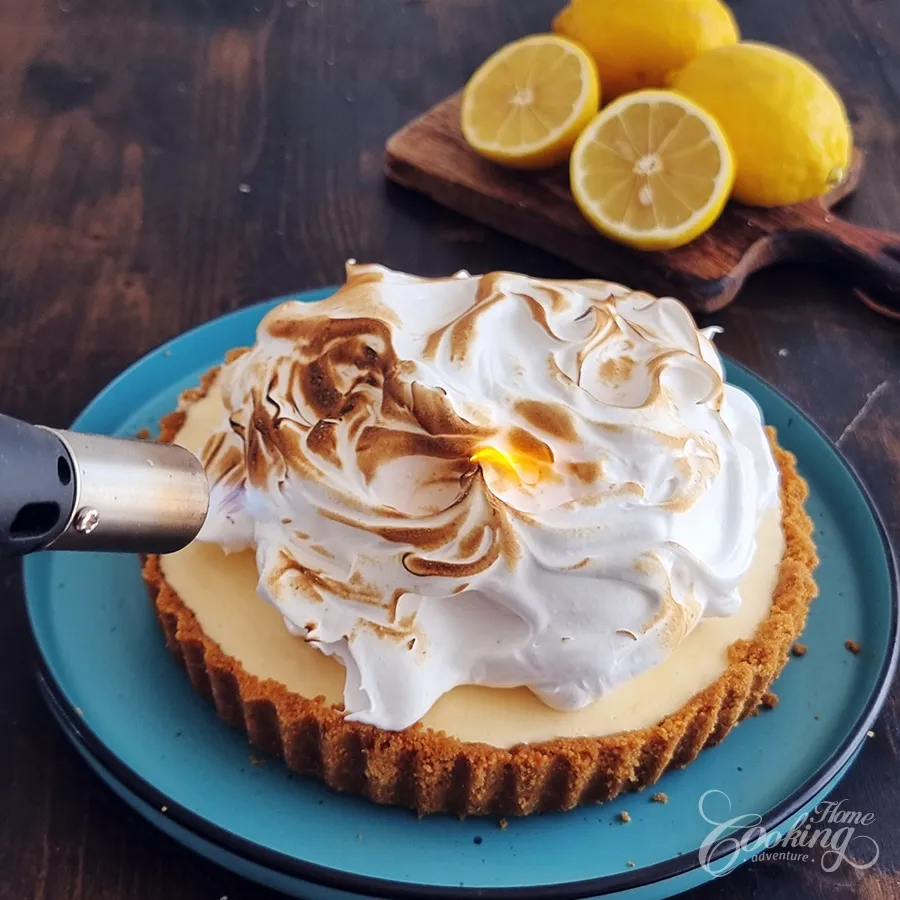
- Serve and keep the leftovers refrigerated. Enjoy!
Nutrition
Did you make this recipe?
Please let me know how it turned out for you! Leave a comment below and tag @homecookingadventure on Instagram and hashtag it #homecookingadventure.


can i use store bought lemon curd? do you know approx amount?
Yes, you can definitely use store-bought lemon curd! I would use about 300–350 g (10–12 oz) of lemon curd, then fold in the 160 g of whipped cream as in the recipe. 😊