
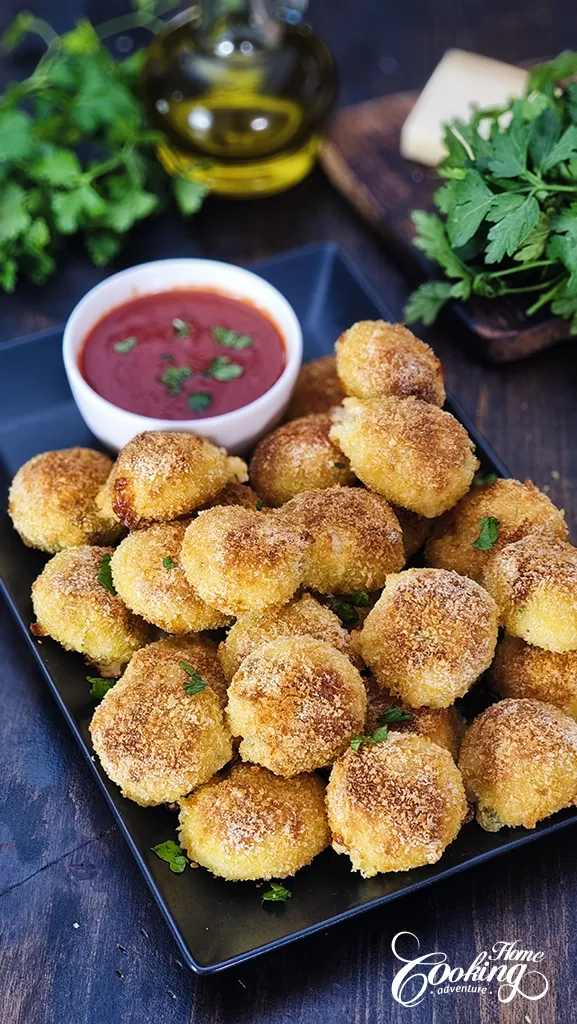
Golden, crispy on the outside and irresistibly creamy inside, these Baked Arancini are my take on a classic Italian favorite, made just a bit lighter, but just as comforting. Instead of deep frying, these are baked until beautifully golden, which means less mess and a little more balance without giving up that satisfying crunch.
The base is a simple homemade risotto, stirred slowly until rich and velvety, then cooled and shaped around a hidden pocket of gooey mozzarella. I stir in sweet green peas right at the end of cooking, just enough to keep their color and a bit of bite. They bring a lovely brightness to the richness of the rice and cheese.
Baking the arancini still gives you that crisp shell, especially if you use panko breadcrumbs and a drizzle of olive oil. We love serving these with warm marinara for dipping, but they’re also great as a snack or appetizer on their own.
They’re a little hands-on, but very forgiving and perfect for making ahead. I often make a batch when we have leftover risotto, and the kids love them in lunchboxes the next day. Comfort food, but clever. Hope you try them!

How to make baked arancini
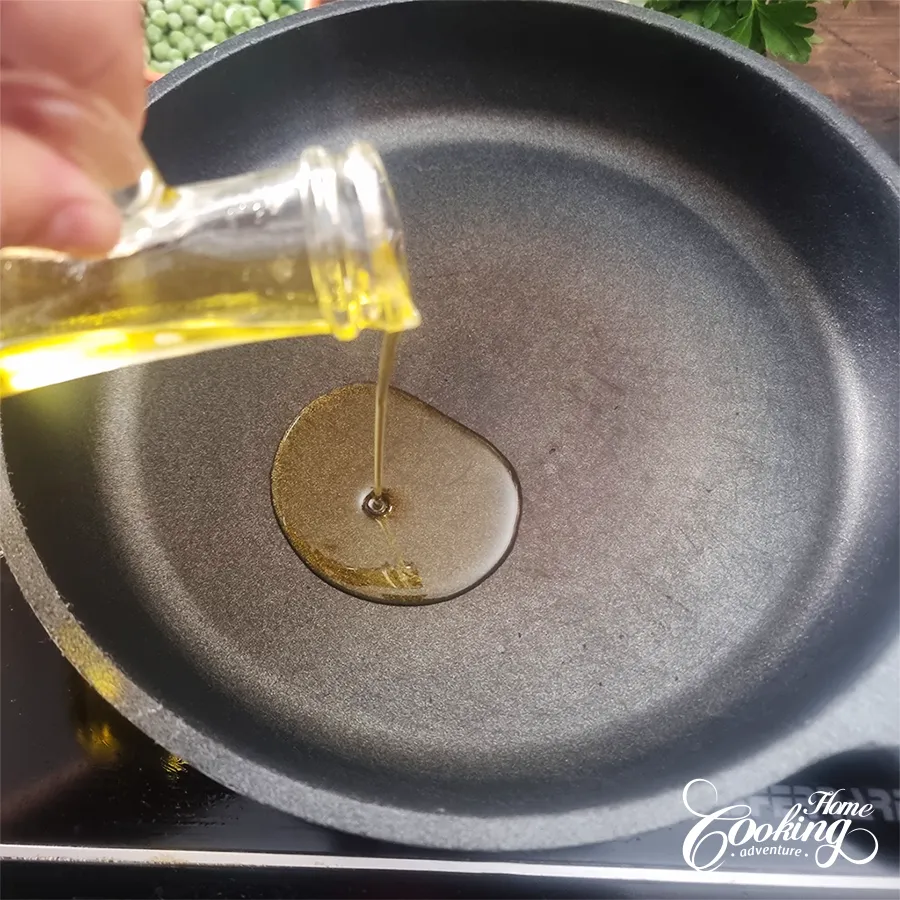
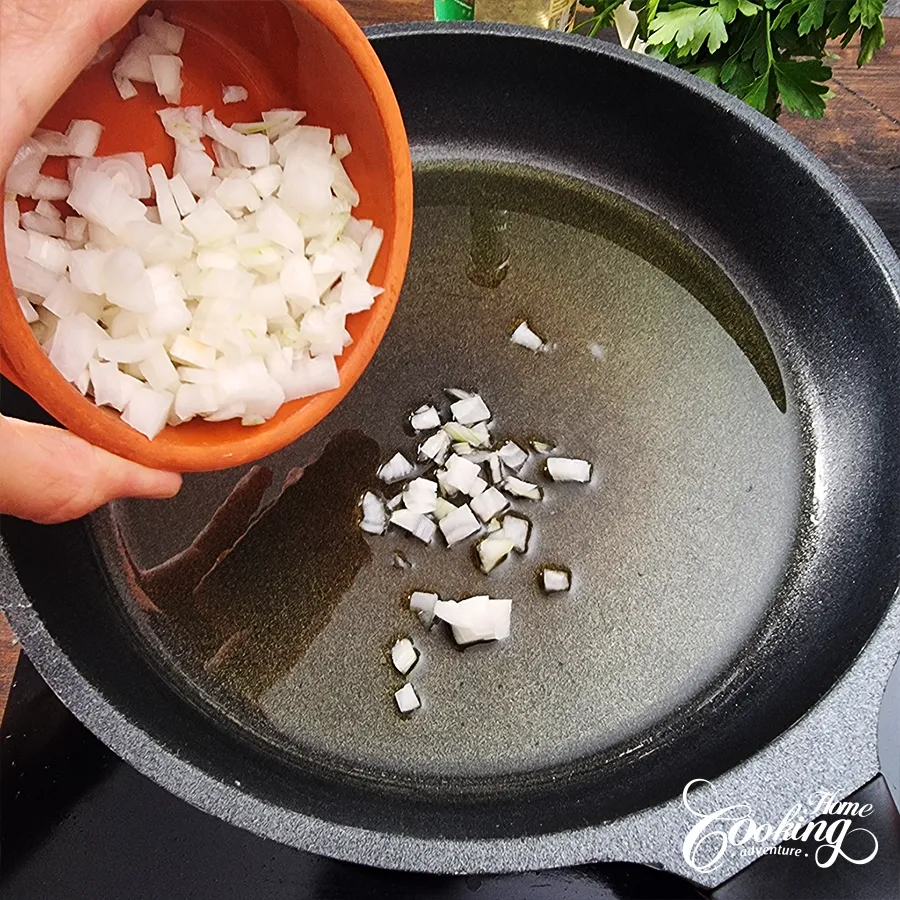
Begin with making the risotto. In a saucepan, heat olive oil over medium heat and sauté the onion until soft and translucent.
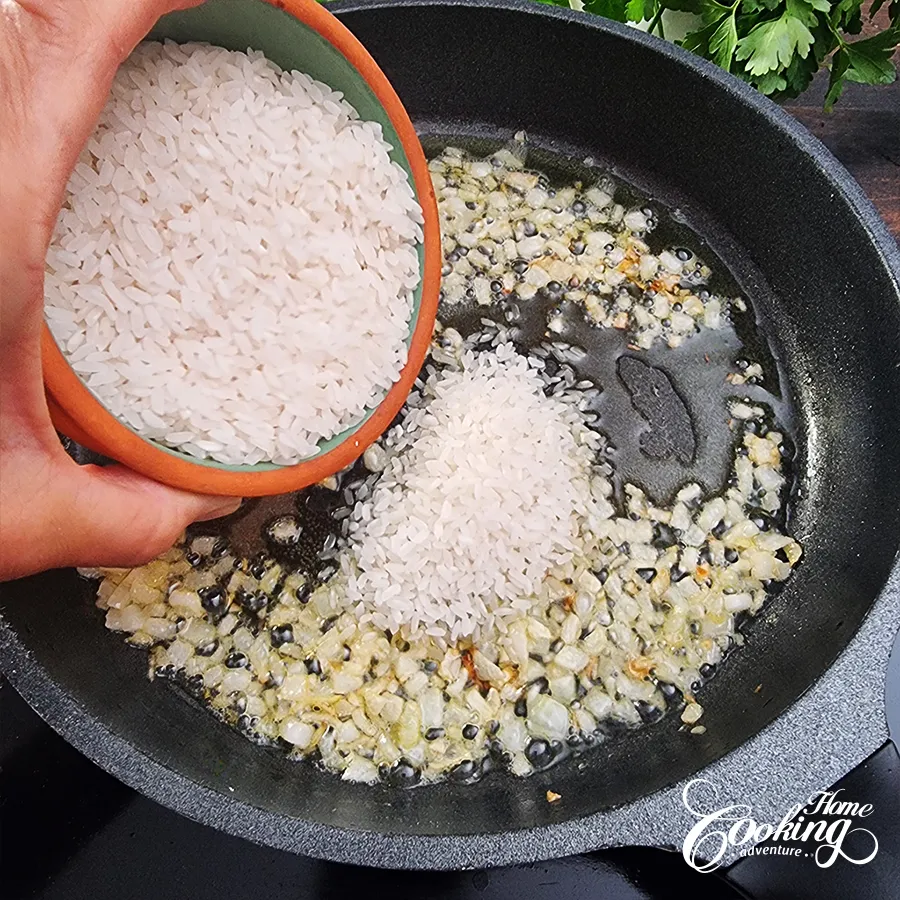
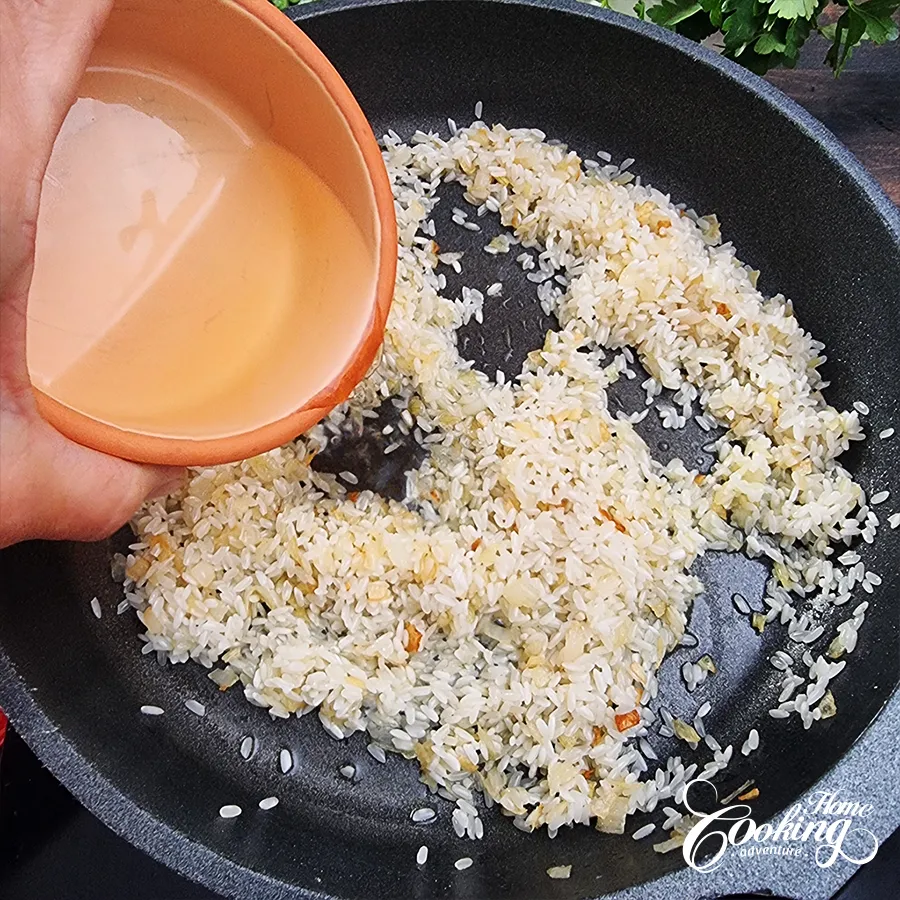
Next, add the rice and toast it for 1–2 minutes, stirring frequently. Pour in the white wine (if using) and cook until it’s mostly absorbed.
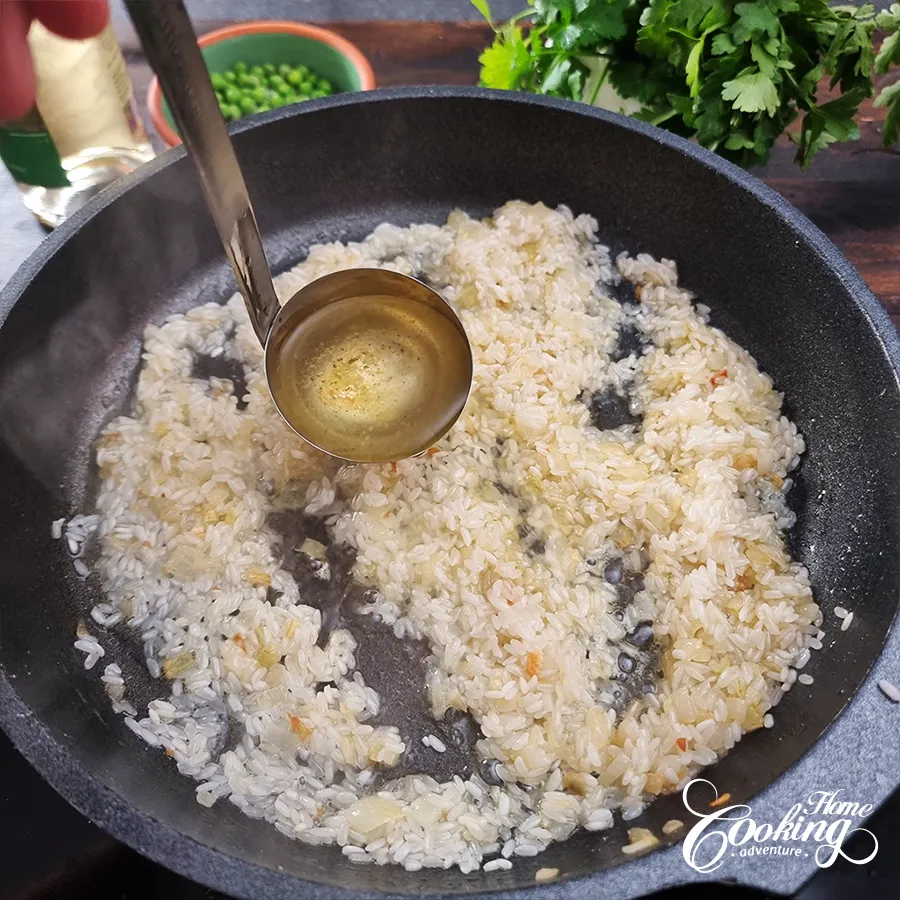
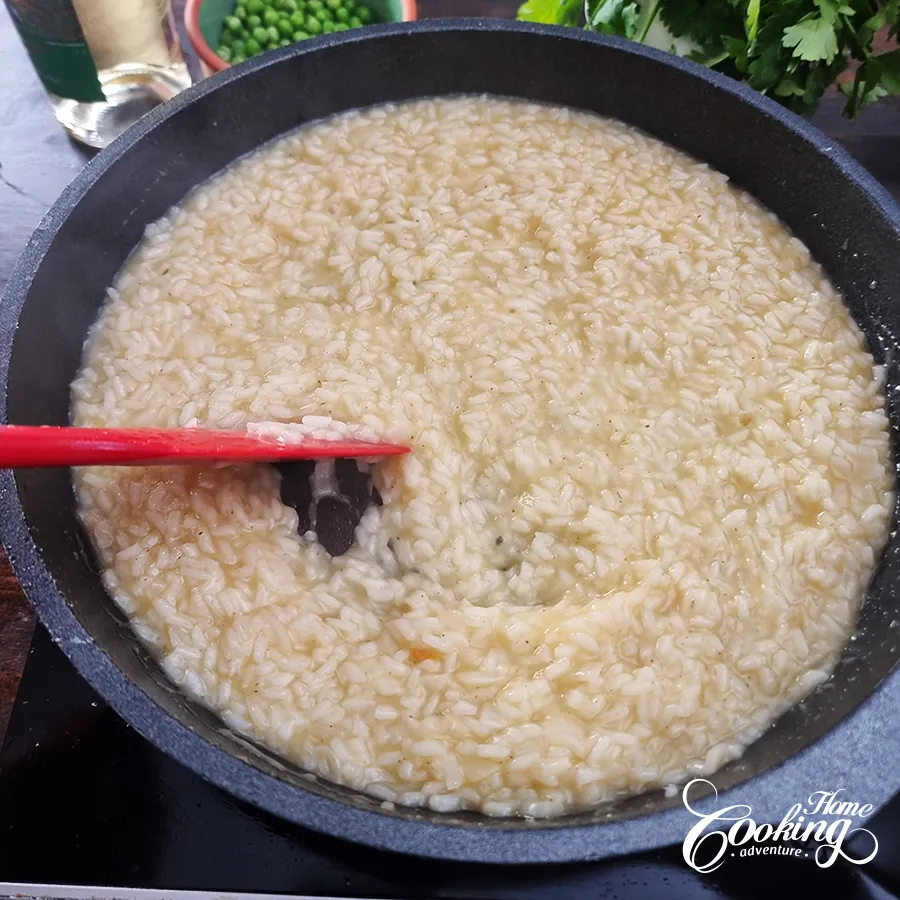
Then, start adding the warm chicken or vegetable stock one ladle at a time, stirring continuously and letting each addition absorb before adding the next. Continue this process for about 20 minutes, or until the rice is tender and creamy.
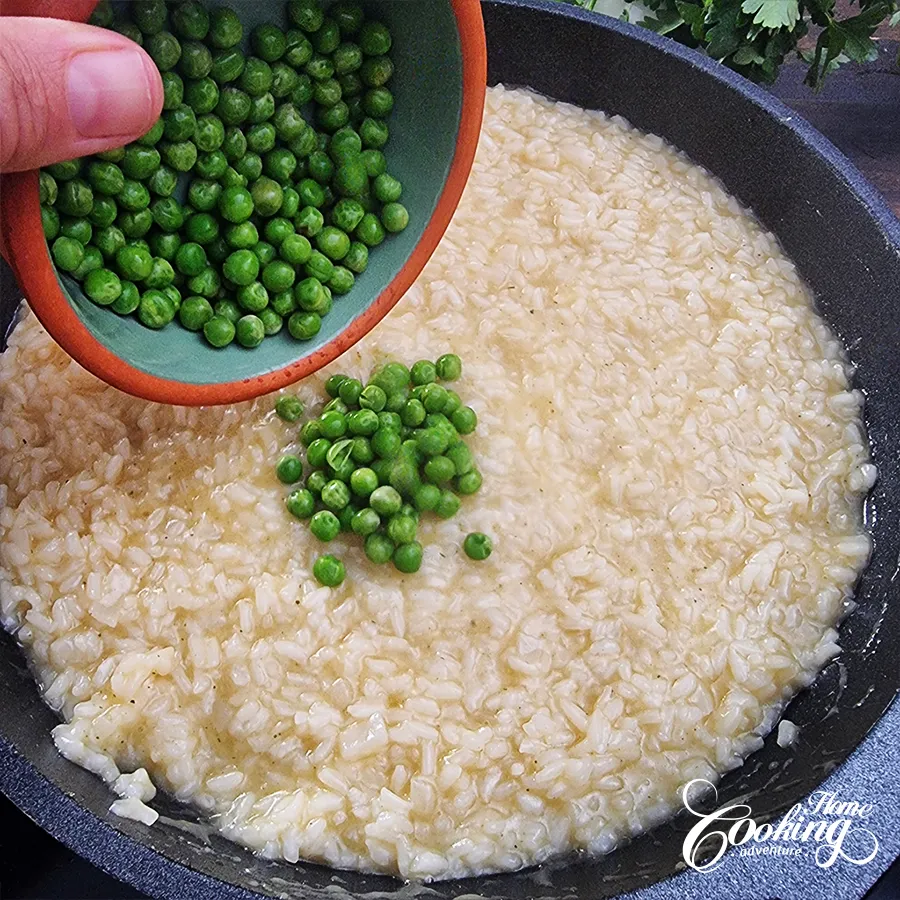
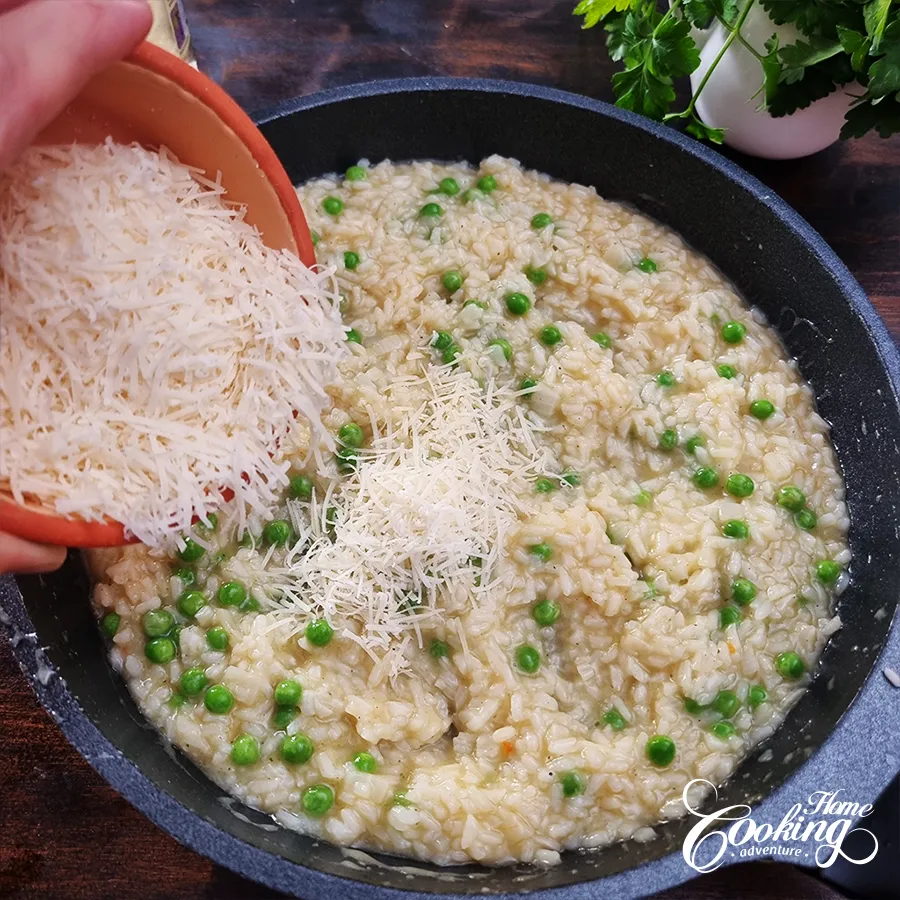
In the final minute, stir in the peas, then remove the pan from heat and mix in the Parmesan cheese, salt, and pepper.
After that, spread the risotto in a baking dish and let it cool completely. For best results, refrigerate for 1–2 hours or overnight if making ahead.
How to shape the arancini
Begin by preheating your oven to 400°F (200°C) and lining a baking sheet with parchment paper.
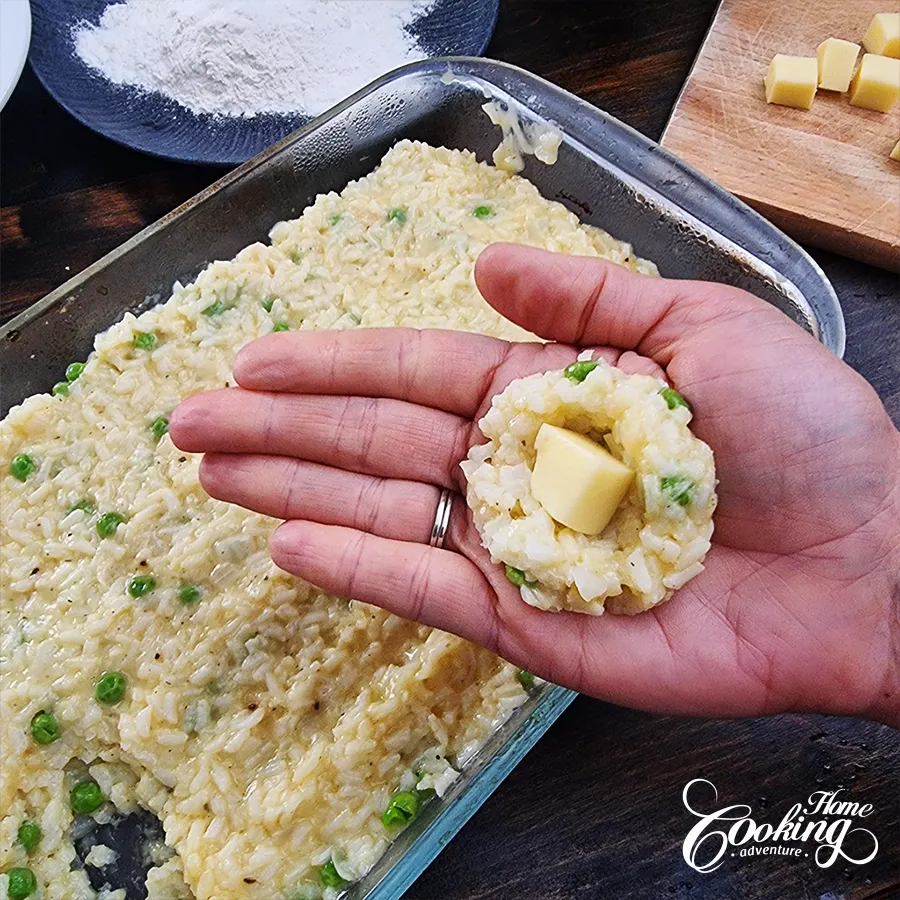
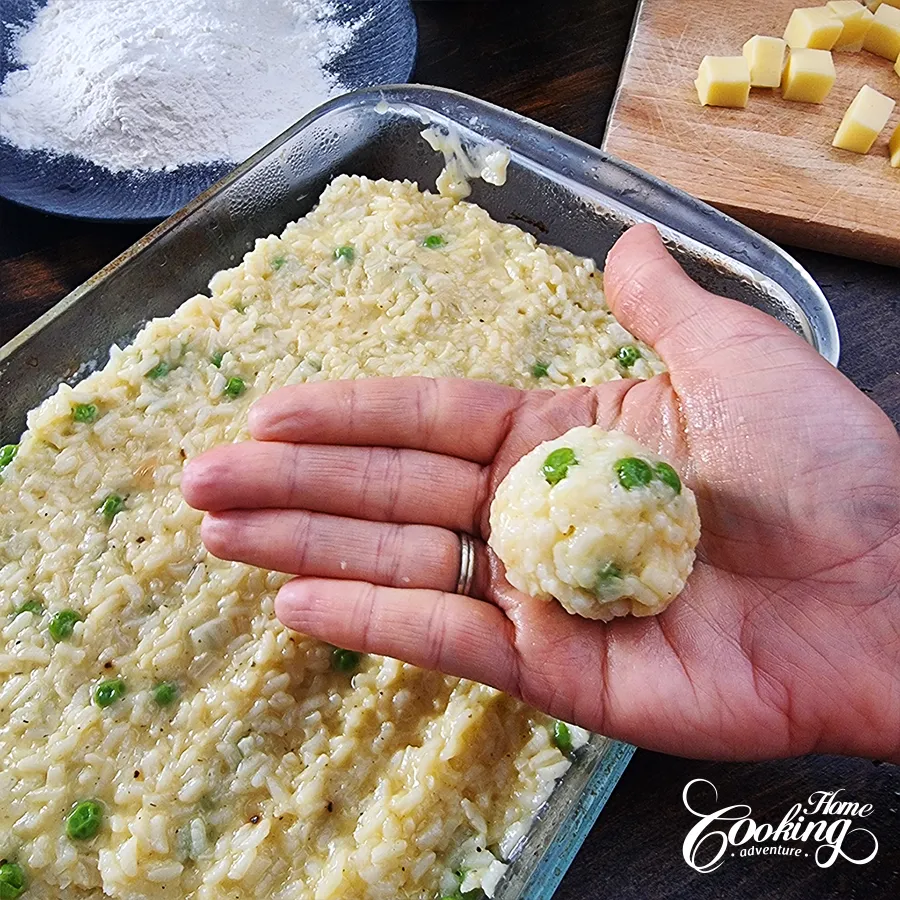
Take a heaping tablespoon of chilled risotto, flatten it slightly in your palm, and place a small cube of mozzarella in the center. Shape it into a ball, sealing the cheese inside. Repeat with the remaining risotto.
How to bread the arancini
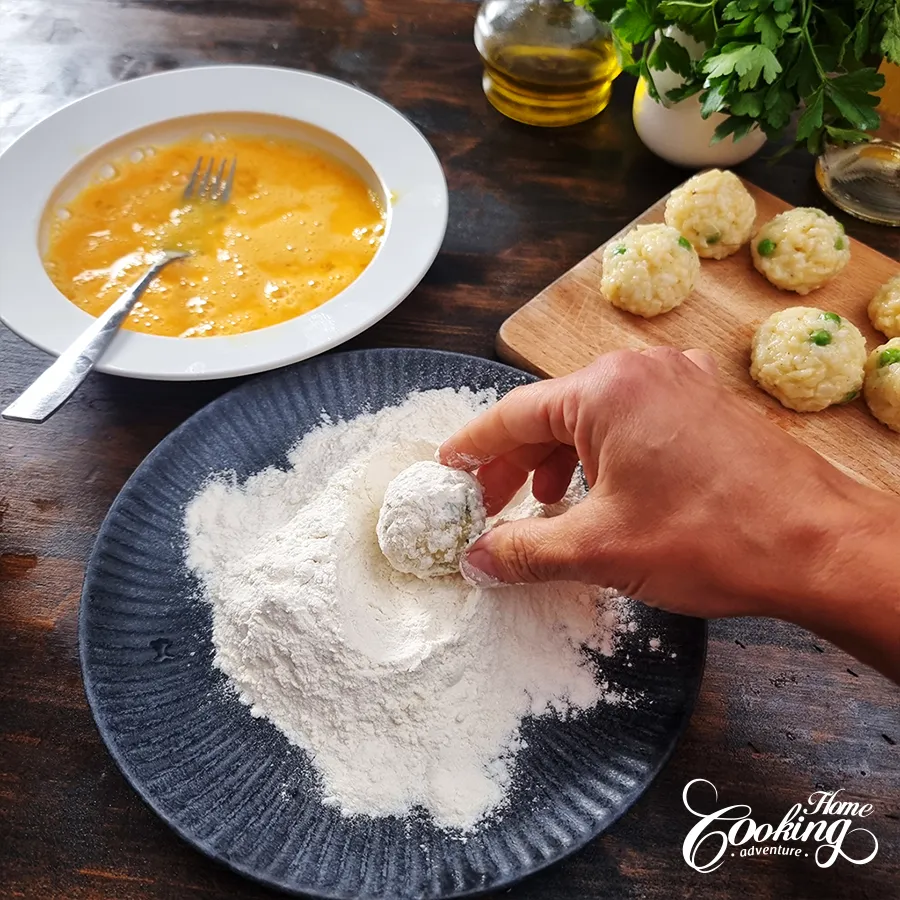
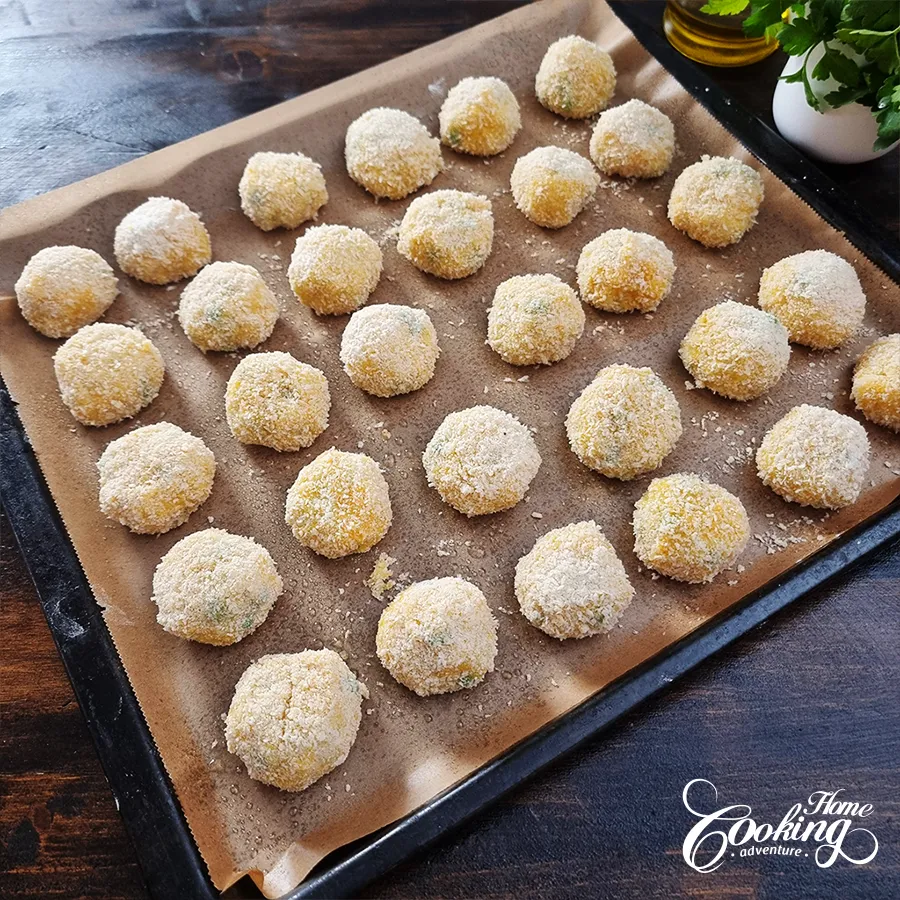
Set up three bowls: one with flour, one with beaten eggs, and one with panko breadcrumbs. Roll each risotto ball in flour, dip in egg, then coat with breadcrumbs. Place them on the prepared baking sheet.
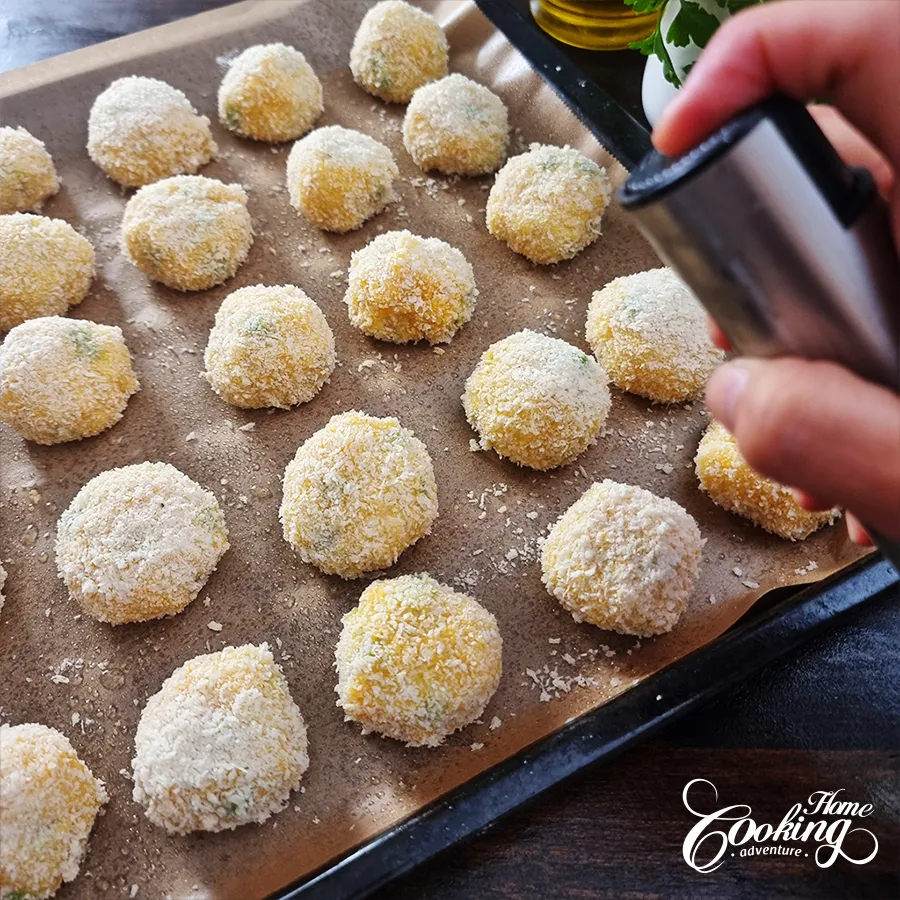
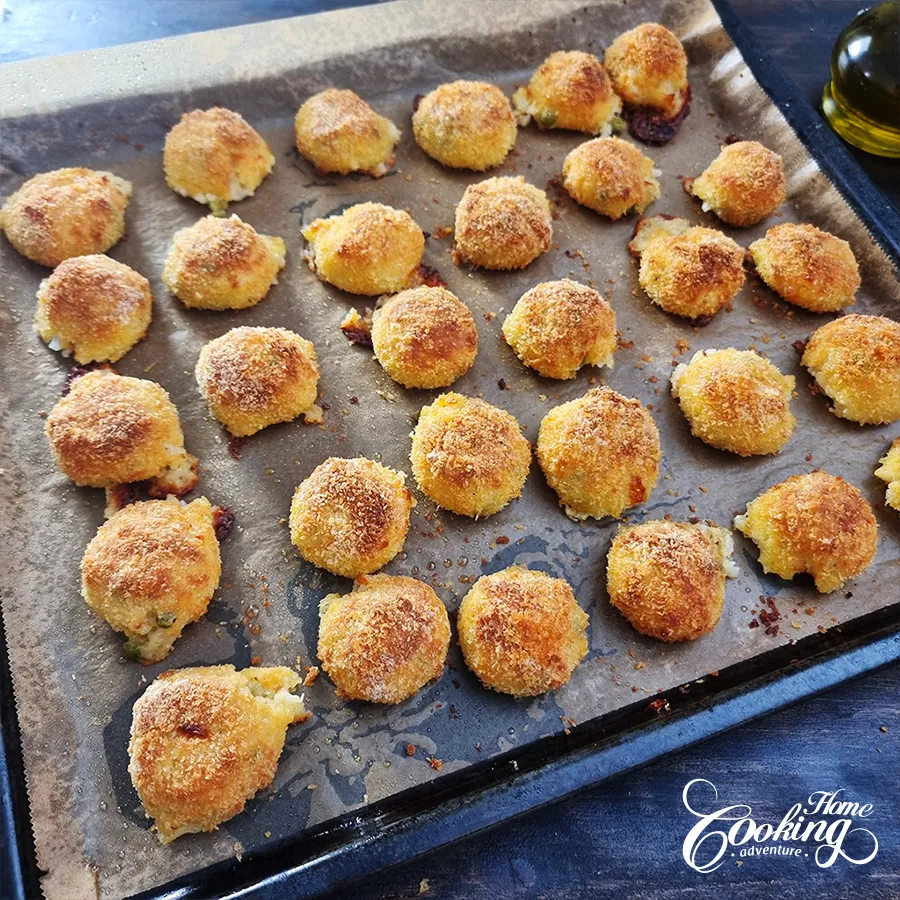
Lightly drizzle or brush the arancini with olive oil. Bake for 20–25 minutes, or until golden brown and crispy.
Enjoy them warm with your marinara sauce or your favorite dipping sauce! Hope you will try these delightful baked arancini. If you do, don’t forget to share the photos with me on Instagram. Enjoy!
Other recipes you may like to try
These baked potato cheese balls are crispy, with gooey melted cheese in the middle, easy to prepare, healthy, and addictive.
These garlic cheese bombs are easy to prepare and are simply incredible. It should not take you more than 20 minutes to have this prepared and placed in the oven. They are soft and flaky and that gooey cheese inside is worth all the effort.
This bloomin’ onion bread is a great way to serve bread to a gathering and everybody will be impressed. The melted, gooey cheese is simply irresistible.
YOU MAY ALSO LIKE:
Easy Lentil Fritters
Leftover Mashed Potato Puffs
Crispy Baked Zucchini Chips
Chicken Patties – The Best Recipe
Oatmeal Savory Scones
Four Cheese Crispy Cheese Balls
30 Must-Try Cheese Appetizers
Easy Salmon Patties
Greek Fried Feta with Honey and Sesame Seeds
Zucchini Carrot Fritters
Homemade Meatballs
Whole Wheat Carrot Biscuits
Crispy Onion Rings
Vegetable Egg Rolls – Fried or Baked
Grilled Corn Fritters

Baked Arancini
Ingredients
For the risotto
- 2 tbsp (30g) olive oil
- 1 (2.5oz – 70g) small onion , finely chopped
- 1 cup (7oz – 200g) Arborio rice
- 1/4 cup (60g) dry white wine , optional
- 4-5 cups (900ml -1.2l) vegetable or chicken broth , kept warm
- 1/2 cup (50g) Parmesan cheese , grated
- 1/2 cup (2oz-60g) peas , fresh or frozen
- Salt and pepper to taste
For the arancini
- 3/4 cup (70g) mozzarella , cut in 1/2 inch (1cm) small cubes
- 1/2 cup (60g) all-purpose flour
- 2 large eggs
- 1 ¼ cup (65g) panko breadcrumbs
- 2 tbsp olive oil for drizzling or spraying
Instructions
Prepare the risotto.
- In a saucepan, heat olive oil over medium heat.

- Add onion and sauté until soft.
- Add the rice and toast it for 1-2 minutes.
- Pour in the wine (if using) and cook until mostly absorbed.
- Begin adding broth or vegetable stock, one ladle at a time.
- Stir frequently and let each addition absorb before adding the next.
- After about 20 minutes, the rice should be tender and creamy.
- In the final minute of cooking, stir in the peas.
- Remove from heat and stir in Parmesan, salt, and pepper.
- Spread the risotto onto a baking dish to cool completely. Refrigerate 1–2 hours or overnight if making ahead.

Shape the arancini.
- Preheat the oven to 400°F (200°C) and line a baking sheet with parchment paper.
- Take a heaping tablespoon of chilled risotto.
- Flatten it slightly and place a small cube of mozzarella in the center.
- Shape into a ball, sealing the cheese inside.
- Repeat with the remaining risotto.

Bread the arancini.
- Prepare three bowls: one with flour, one with beaten eggs, and one with panko breadcrumbs.
- Roll each ball in flour and then dip in egg.
- Coat in panko breadcrumbs.
- Place on the prepared baking sheet.
- Lightly drizzle or spray the arancini with olive oil.
- Bake for 20–25 minutes until golden brown and crisp.
- Serve with marinara sauce, your favorite dipping sauce or with a green salad.


Nutrition
Did you make this recipe?
Please let me know how it turned out for you! Leave a comment below and tag @homecookingadventure on Instagram and hashtag it #homecookingadventure.
Is there a trick in getting the risotto to hold its shape? Mine isn’t creamy, if anything its dry and resembles fried rice. What am I doing wrong?
The main thing is the type of rice: for risotto, you need a starchy, short-grain rice like Arborio. Basmati or long-grain rice won’t give you the creamy texture. To get that classic creaminess, add the stock gradually, a little at a time, and keep stirring so the rice releases its starch and absorbs the liquid evenly. This is what gives risotto its signature soft, creamy consistency while still holding its shape.